

Results 131 to 140 of 218
Thread: Random Pics Of My GA Build
-
05-23-2013, 12:41 PM #131VMD


- Join Date
- Mar 2012
- Location
- Oaktown, California
- Posts
- 212
Re: Random Pics Of My GA Build
I have a 2nd gen Solidoodle. It's pretty nice to have for fast-track prototyping. Originally Posted by surveyor780

-
05-25-2013, 01:47 PM #132VMD
- Join Date
- Mar 2012
- Location
- Oaktown, California
- Posts
- 212
Re: Random Pics Of My GA Build
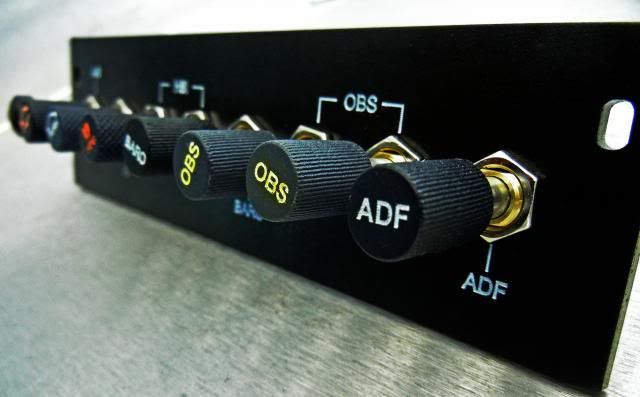
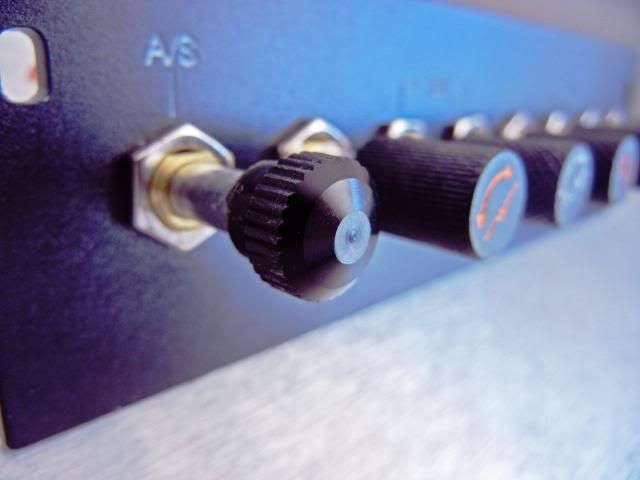
I just added push/pull switch to the CTS dual encoder. I don't know if I can print "Pull 25k" on the inner knob, it might be too small. We'll see!!

-
05-27-2013, 11:03 AM #133VMD
- Join Date
- Mar 2012
- Location
- Oaktown, California
- Posts
- 212
Re: Random Pics Of My GA Build
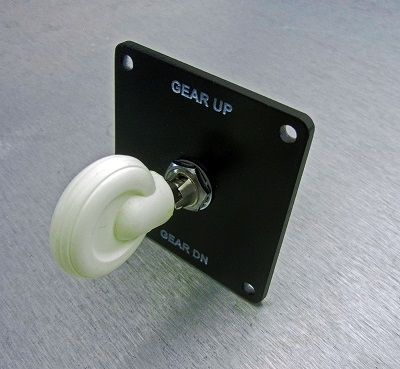
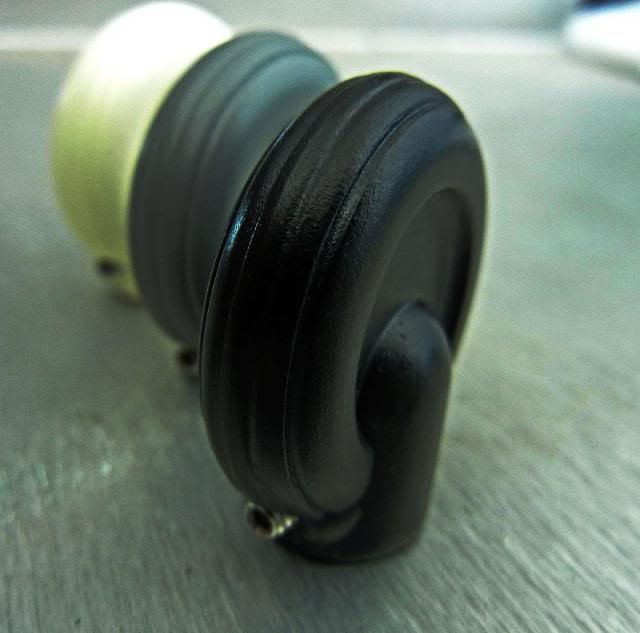
This gear knob that I'm using is the same as Baron B-58. It was originally requested from one of MC.org member and I have decided to put it on my production list.
-
05-27-2013, 12:31 PM #13410+ Posting Member

- Join Date
- Mar 2013
- Location
- Central Alberta
- Posts
- 19
Re: Random Pics Of My GA Build
Those look great Louie. I'd take a set of the knobs if you're selling them!
-
06-02-2013, 09:03 PM #135VMD
- Join Date
- Mar 2012
- Location
- Oaktown, California
- Posts
- 212
Re: Random Pics Of My GA Build
Beech flap switch and parts for 172 center console.
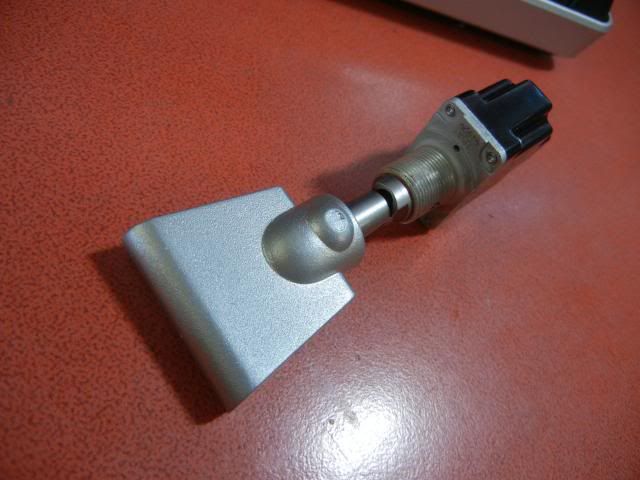
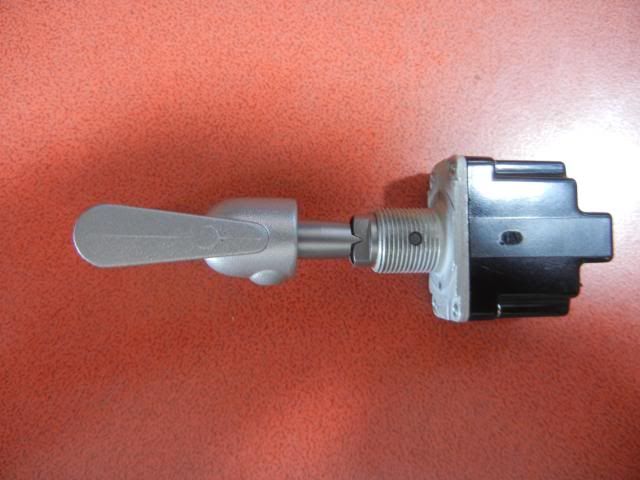
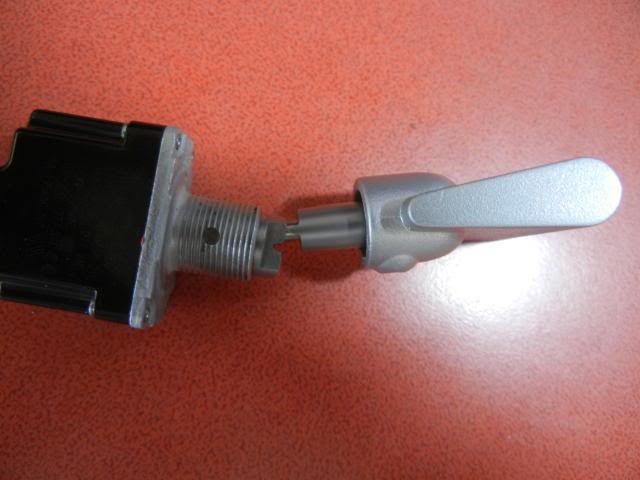
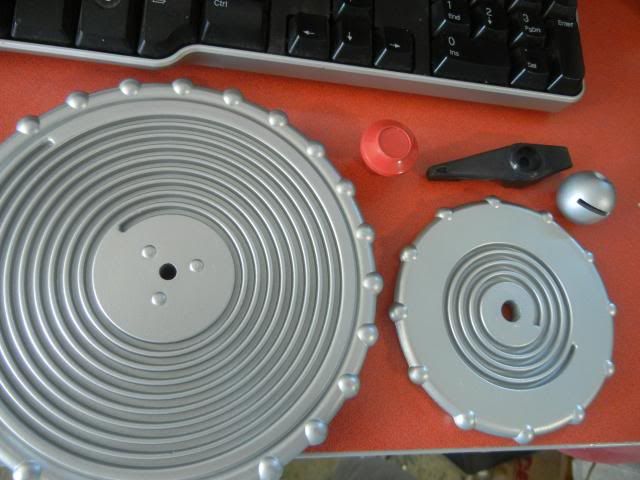
Fuel shut off, fuel selector, cowl, pitch and rudder trim wheel.
-
06-02-2013, 09:43 PM #136500+ This must be a daytime job
- Join Date
- Jan 2007
- Location
- NEW ZEALAND
- Posts
- 908
Re: Random Pics Of My GA Build
Louie,
Looks very nice, like the original look to the Trim wheels. Having the wee edge knobs moulded in looks real cool.
When i did my one i had to add these. If you are going to put them on your webshop, i may have to purchase for
my C177 sim. Keep up the great work, there is nothing like it out there.
Best Regards
Les
-
Post Thanks / Like - 1 Thanks, 0 Likes, 0 Dislikes
 Louie Mendez thanked for this post
-
06-02-2013, 11:05 PM #137VMD
- Join Date
- Mar 2012
- Location
- Oaktown, California
- Posts
- 212
Re: Random Pics Of My GA Build
Hey Les,
I will make sure to inform you when these stuff are ready.
If the material is silver it means it's in my mass-prod list =).
May I see how you made your trim wheel?
~~
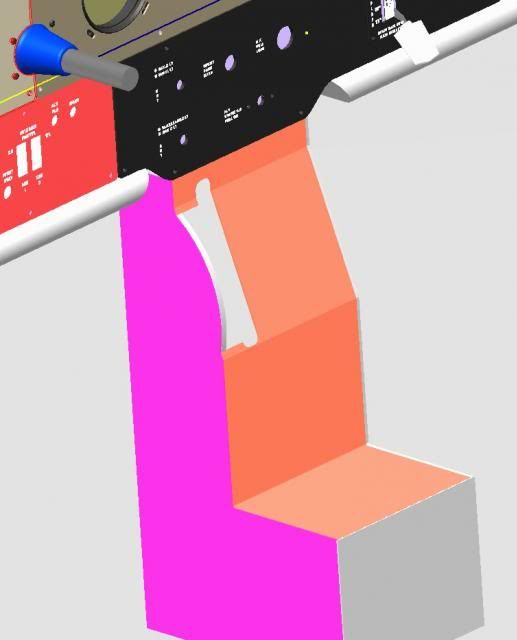
This is an update on my son's sim.
Glareshield's core will be made out of sheet metal and I will have it wrapped in foam and black vinyl . It will be worked by Julio from Antioch Convertible. He's done my 71 Chevelle interior and the craftsmanship is just fantastic.
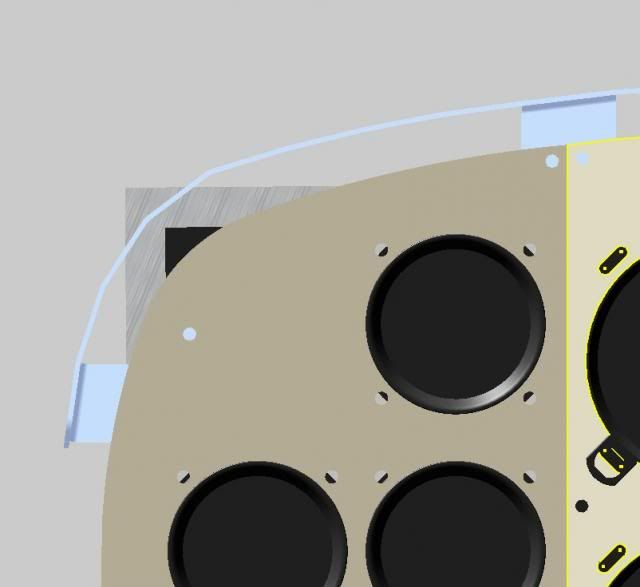
Yoke support and shaft right under the monitor and monitor cradle.
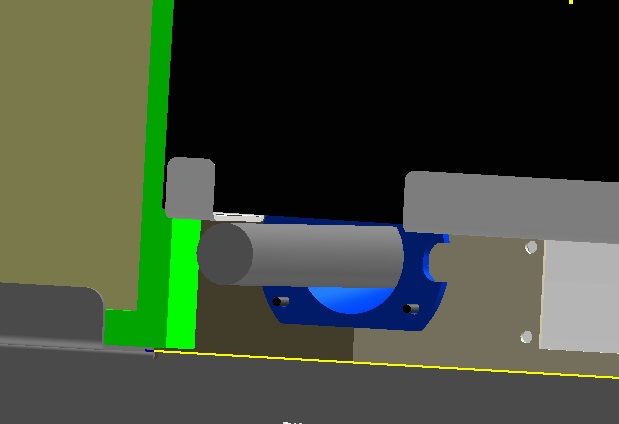
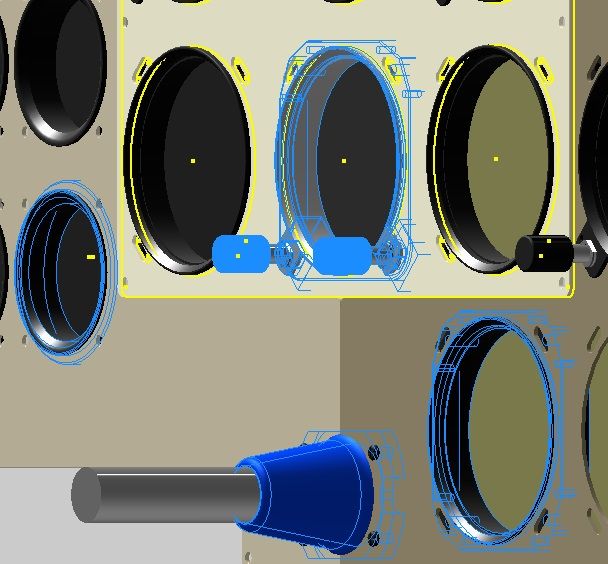
Center console still in the making. I will powder coat the frame myself instead of using vacuumed formed sheet for cover.
-
06-03-2013, 03:30 PM #13810+ Posting Member
- Join Date
- Mar 2013
- Location
- Central Alberta
- Posts
- 19
Re: Random Pics Of My GA Build
Verrry nice. I wish the actual C172 I fly had rudder trim!
I see you included the 'record groove' in the wheels, are you going to use the original style trim indicator, or build a servo-powered indicator? There's something so beautifully simple and eloquent about the original design.
-
06-03-2013, 04:20 PM #139500+ This must be a daytime job
- Join Date
- Jan 2007
- Location
- NEW ZEALAND
- Posts
- 908
Re: Random Pics Of My GA Build
Hi Louie,
I dont have pics of my trim wheel, i used my cnc to cut the wheel and put the spiral groove in it. Then used Map pins
pressed and glued around the perimeter. Painted black it doesnt look to bad.
Are you going to drive the indicator as Surveyor780 said like the Real one. I did it that way and it works great
and quite simple to do.
Are you using a Pot or encoder for the trim. I used a pot so that its position is remembered when powering up
and flying. Sometimes ive wondered why i couldnt lift off. i had forgotton to set this wheel back to TO.
Regards
Les
-
06-04-2013, 02:56 PM #140VMD
- Join Date
- Mar 2012
- Location
- Oaktown, California
- Posts
- 212
Re: Random Pics Of My GA Build
I'm glad you made it back safely to the ground lol. Originally Posted by iwik
I'm going to try both methods and see which one works best. Using the original indicator takes about 4 full turns on the elev trim wheels and about 2 1/2 turn on the rudder trim to set the indicator to its full position. Of course that's starting from neutral.
Please correct if I'm wrong, this is based on 172RG center console that I have =).
Honestly, I'd rather utilized the empty slot on my OC USB Servo output which I think is much more feasible to obtain an accurate indication and cost to manufacture the assembly.
As for input, I will use a smooth turning encoder made by CTS and add a friction control to the trim wheel. If this doesn't satisfy me then I will use gears and pots.

 Reply With Quote


Candid connections: Platform for casual relationships Live Women Prime Сasual Dating
Super Сasual Dating - Genuine...