

Results 51 to 60 of 167
Thread: Norwegian 727-200 project
-
04-04-2012, 01:46 PM #51150+ Forum Groupie


- Join Date
- Jun 2009
- Location
- Norway
- Posts
- 173
Re: Norwegian 727-200 project
Thanks for the tip Dave. I have no idea if I can find that product over here though.
I do have a question with regards to disassembly though. How did you get all the levers out? I have the right side of the TQ disassembled (it actualy came that way) More to the point the side panel, flap an friction levers are disassembles as well as the gear and axle for the trim wheels. But I don't see how to go from there, you know how does the thrust levers and start levers come out?
Thanks for any pointers
Tor
-
04-05-2012, 03:58 AM #52150+ Forum Groupie
- Join Date
- Jun 2009
- Location
- Norway
- Posts
- 173
Re: Norwegian 727-200 project
The radios are ready. Will ship after Easter. Great retro look I think!


-
Post Thanks / Like - 1 Thanks, 0 Likes, 0 Dislikes
 Efe Cem Elci thanked for this post
-
04-05-2012, 04:22 PM #53727 & DC3 Cockpit Builder

- Join Date
- Feb 2010
- Location
- Memphis, TN
- Posts
- 56
Re: Norwegian 727-200 project
Those look fantastic! I would love to have those in my 727 sim! Let me know when he starts making them in numbers!
-
04-05-2012, 07:43 PM #5425+ Posting Member
- Join Date
- May 2011
- Location
- Ireland
- Posts
- 26
Re: Norwegian 727-200 project
They look very good. In fact we have a 707 cockpit in our university thats being converted to a 737NG. The radios look quite similar - i think though the panels in our one were black. and of course the rotating numbers on the display as it wasnt electronic but i think youd need a electronic engineering degree to do that.
-
04-08-2012, 11:57 PM #5525+ Posting Member


- Join Date
- Dec 2010
- Location
- USA, Oklahoma
- Posts
- 52
Re: Norwegian 727-200 project
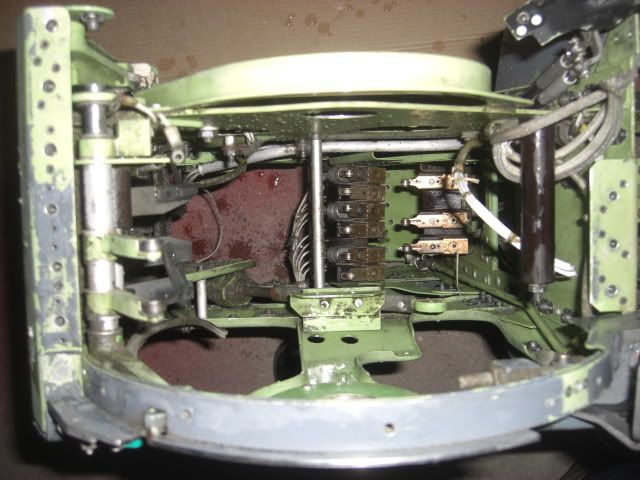
Tor, you're almost there getting the thrust levers and start levers out. Mine were a bit tight so keep that in mind. Once the right side frame is off and Flap/Friction parts are out of the way (where you are), the thrust levers ride on that main shaft. It basically slides out from left to right. Use something like a wood piece and tap the the large hollow shaft from the left side (make sure you have the left nut off of the left side of course). There is a small square shaft in the notch of the larger hollow main shaft on the outside left. It keeps the hollow main shaft/axle from just spinning when the large locknut is tightened. That little guy is also is what makes the main shaft tight upon dis-assembly and reassembly. You had one on the right too and probably remember it. Of note I filed my small square shafts down a bit so the reentry/exit force was less. When the main shaft slides out you must keep walking the individual thrust/start levers off to prevent binding. ALso do not forget to mark each piece coming off including spacers- there are 2 different sizes and their position gets confusing when you reassemble. My diagram sucked and I ended up studying my pics to get it back together right. I used lithium grease for a cleaner long-term lube. You can also take out the start lever cams down below simply by pulling the shaft down below via screws on right/left access. Again mark these and do not do what I did: wash the marks off when cleaning. It causes more pain. Btw I added a new shaft and pulley to the lower right cage for the flaps cable. I used a nice composite wheel with bearings from the lower cable-out section that I wasnt going to use. The bullet-proof start switches should be good to go in yours too. I left out the internal plastic flaps switch lever to leave room for my linear flaps pot. Just remember you may have to really bang on the main shaft to get it out but once it's started just watch all the internals riding on that shaft and it should start walking out. Mine was very tight but I knew my force was in the right direction. Also- do not remove the inner partition between the two main shaft spaces, just leave it. It's fine where it is... dave
-
Post Thanks / Like - 1 Thanks, 0 Likes, 0 Dislikes
AVIATor-Olav thanked for this post
-
04-09-2012, 04:22 AM #56150+ Forum Groupie
- Join Date
- Jun 2009
- Location
- Norway
- Posts
- 173
Re: Norwegian 727-200 project
Thanks Dave! I did actually figure out how to disassemble the thrust levers before I was off for the hollydays last week. I've got the Trust levers out now, still need to pull the start levers out. The right side of the shaft was allready dis-assembled when I got the TQ. Infact I miss the large nut for the right side unfortunately. I guess I have to come up with some ingenuity to get the thing back together. Spare parts are definately not available from my local hard ware store!
I'll try to dis-assmble the rest of it today and start cleaning it. I'll try to take a few pics as well.
Thanks again for your tips and tricks Dave!
Tor
-
04-09-2012, 12:12 PM #57150+ Forum Groupie
- Join Date
- Jun 2009
- Location
- Norway
- Posts
- 173
Re: Norwegian 727-200 project
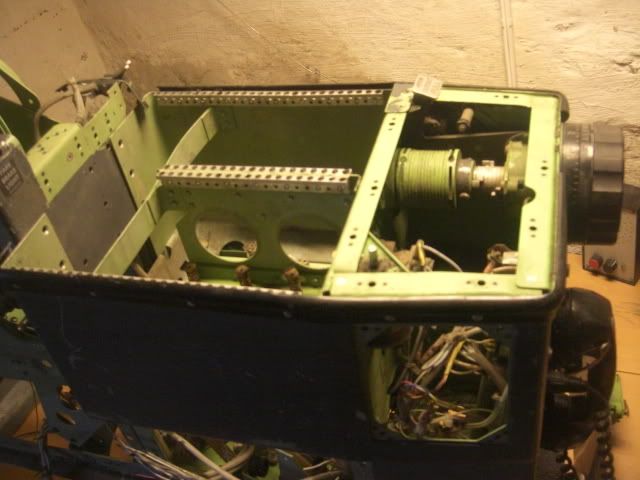
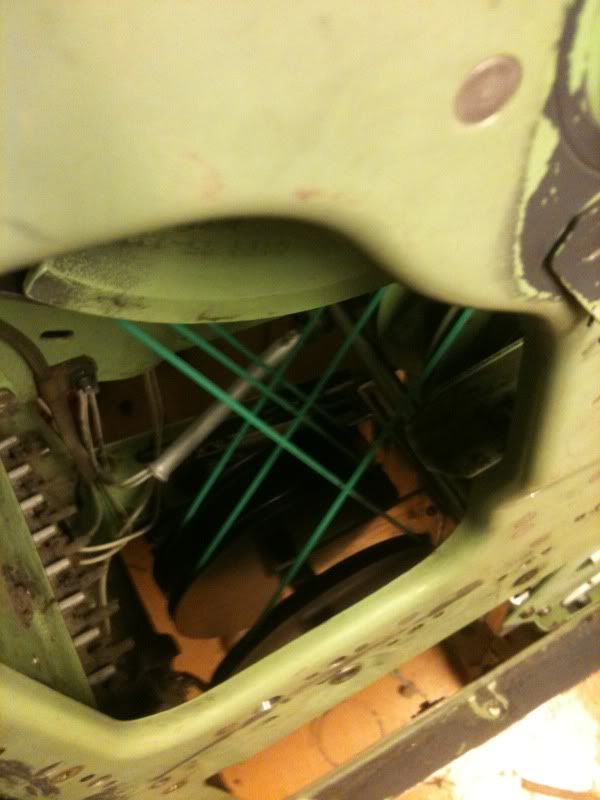
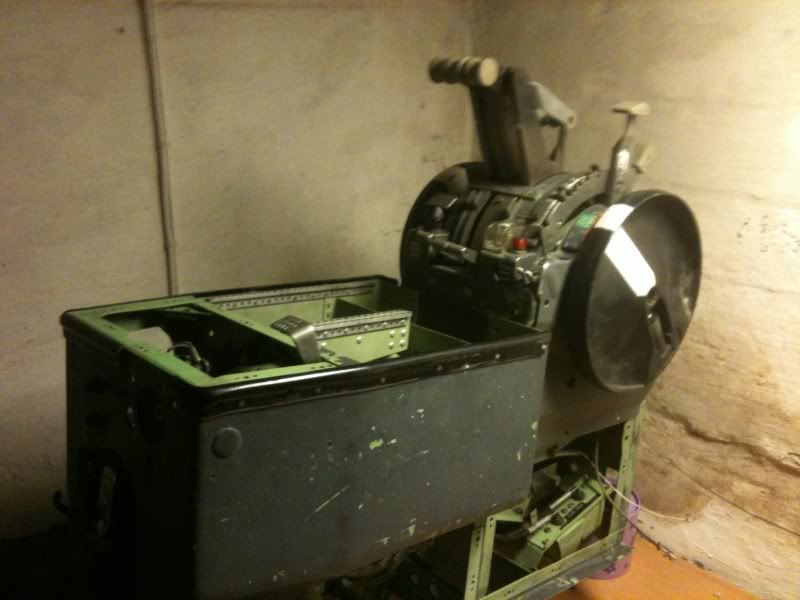
Did some dirty work today, but the TQ turned out a little cleaner at least!

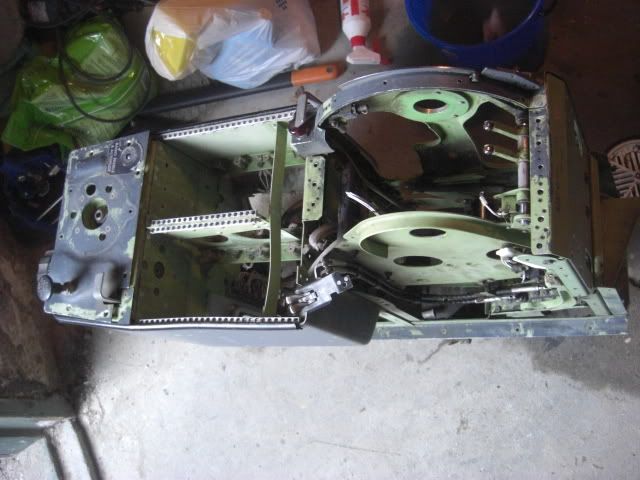
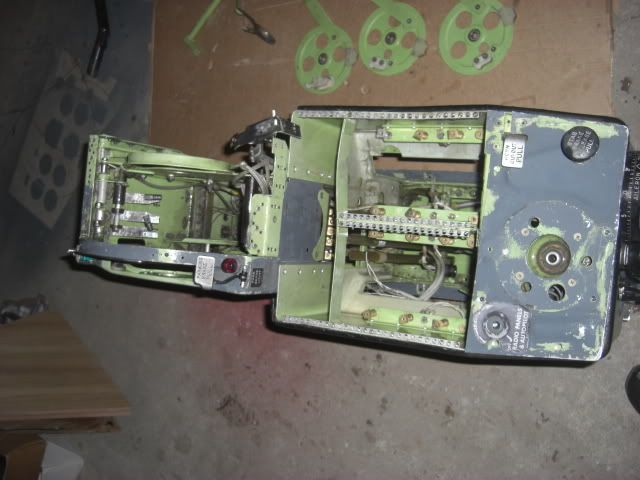

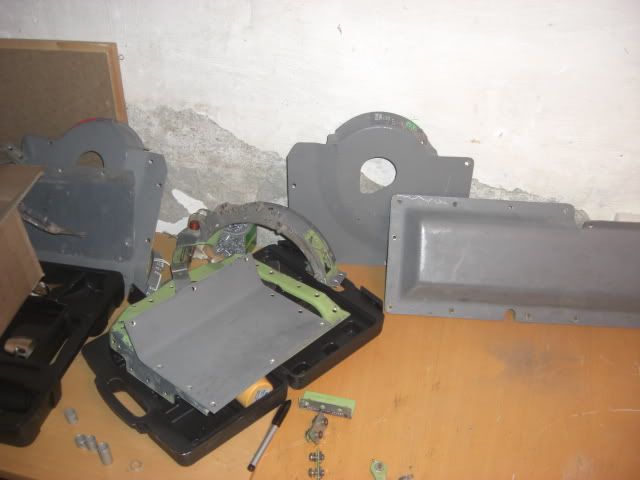
Some of the TQ panels and parts
Got the "lid" at the back off as well which was a bit of a moment.
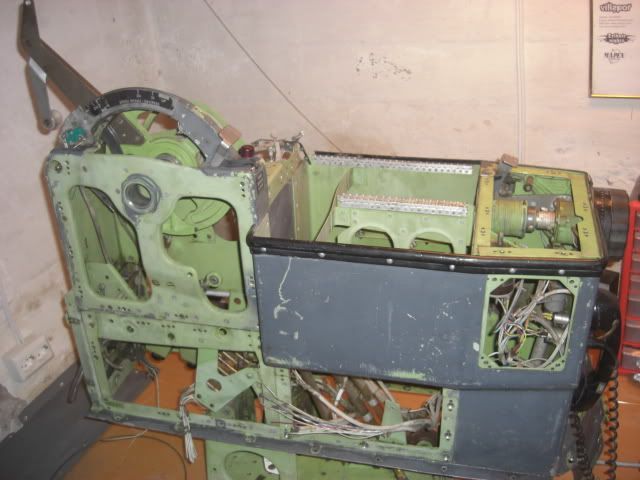
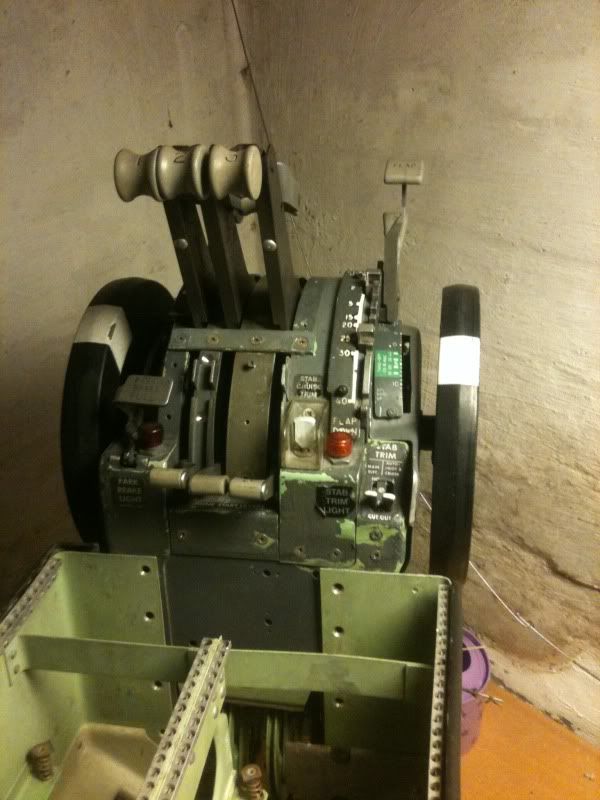
I put one of the thrust levers back in to try to figure out how and where to put the pots. Still has me thinking! HARD!!!

-
04-27-2012, 08:11 AM #58150+ Forum Groupie
- Join Date
- Jun 2009
- Location
- Norway
- Posts
- 173
Re: Norwegian 727-200 project
Time for a new update.
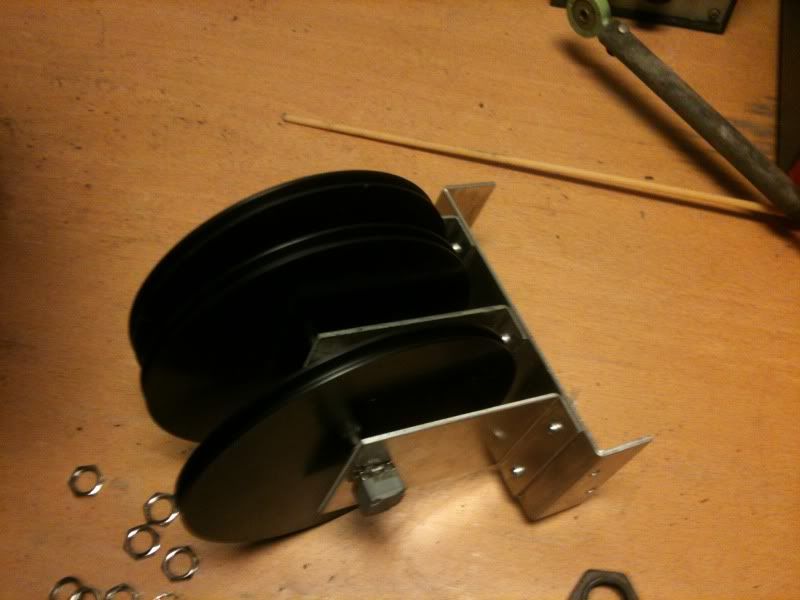
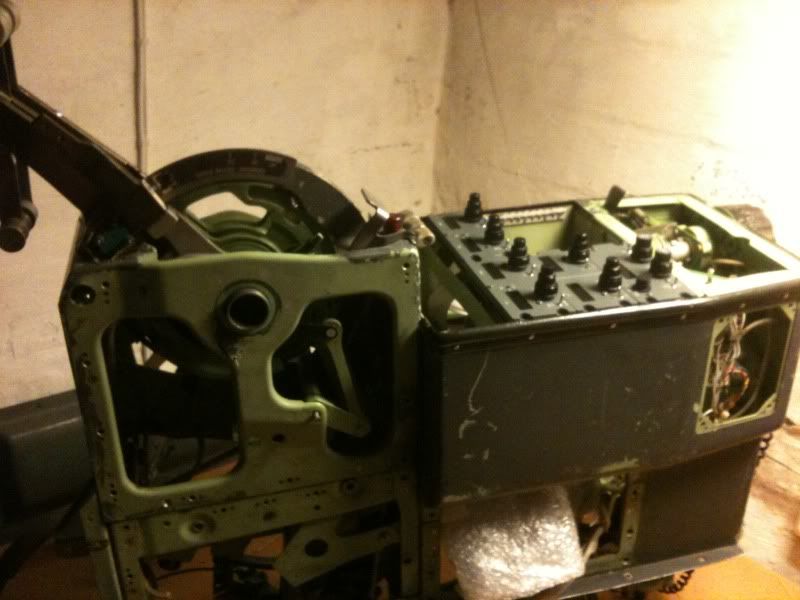
I've made some pulleys and brackets for the throttle pots
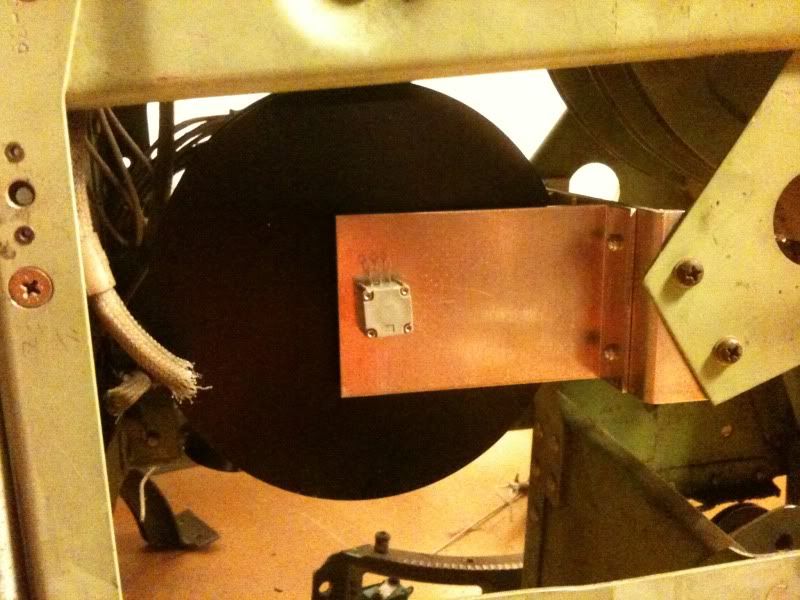
Mounted inside the TQ
Control cables hooked up. I hope this works!
The radios have arrived!
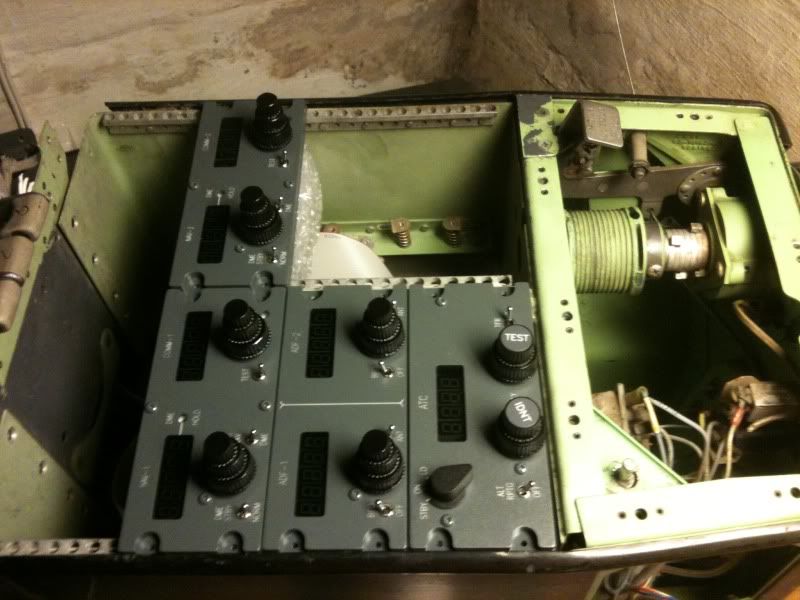
Starting to resemble a TQ again. A bit of fresh paint and it'll be like new! I hope! :/
-
04-27-2012, 03:22 PM #59150+ Forum Groupie
- Join Date
- Apr 2007
- Location
- N/A
- Posts
- 192
Re: Norwegian 727-200 project
Am I jealous??? YES!
Good work! Are you going to motorize the TQ?
-
04-27-2012, 05:58 PM #60150+ Forum Groupie
- Join Date
- Jun 2009
- Location
- Norway
- Posts
- 173
Re: Norwegian 727-200 project
Nono, no such thing in the 727! :P
Prøvde å sende deg en IM på simnor for litt siden

 Reply With Quote


Hi...realize this has been a long time, but I'm heading down the path of building my own 777...
B777 Overhead Panel Design