

Results 11 to 15 of 15
Thread: Yet another 737 project
-
02-09-2013, 02:53 PM #1175+ Posting Member

- Join Date
- Oct 2012
- Location
- London ON, CA
- Posts
- 106
Re: Yet another 737 project
Here is how i made my switches, maybe you will find it helpful or at least get some ideas from it.
First I marked on a $1.50 PCB board where the connectors from the switch will go so they aligned in center with the bracket and approximate size of the board I will cut it later to size.

The switch i use is KP0115ACBKG03CJB it comes with RED LED inside $3.99.On left is switch with RED LED and on right I removed RED and will Install YELLOW one.

You will need to take the switch apart to remove the RED and put yellow in, also you will likely smash the RED while removing it.. oh well.. Below is the picture of it once taken apart, there are 2 springs and 4 little glide/slide pins try not to loose them. Then rip out the RED led and put YELLOW in.

Once you got your YELLOW led in to put the switch back together install the springs, place the top white part on and put the 4 pins in last into the groves as seen below and last put the holding bracket to keep it together.


DUAL LEDS IN SWITCH
If you do not care for dual color switch RED and YELLOW then it much easier, I will explain here how i got them in there. Its kinda a pain i would recommend using rectangular leds but the once i was able to get were very weak "dim" so i chose the bright round ones 3mm LEDS. Also dual LEDS would work nice but idk if they even have them.Same as earlier you will have to take the switch apart then rip the insides of it.Insides include where the original RED led sits and then some of the bottom of switch to give room for 3 legs from the 2 leds to go through.
BE CAREFUL NOT TO DAMAGE THE LITTLE PLASTIC PINS WHERE THE SPRINGS MOUNT.


Now make the dual LED.I gave them a common NEGATIVE since OPENCOCKPITS Master Card uses negative for outputs as common and switches will go to Master Card it will make one wire harness and they will go all together to master card. If you want to use USB Outputs card for leds you would need to make the POSITIVE common.

Simply solder the NEGATIVE together place them as close as possible it is a little pain fitting them in the switch but once there they work great.


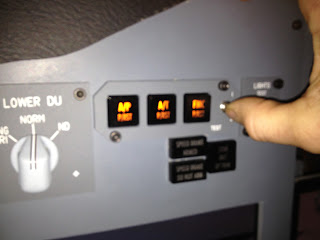
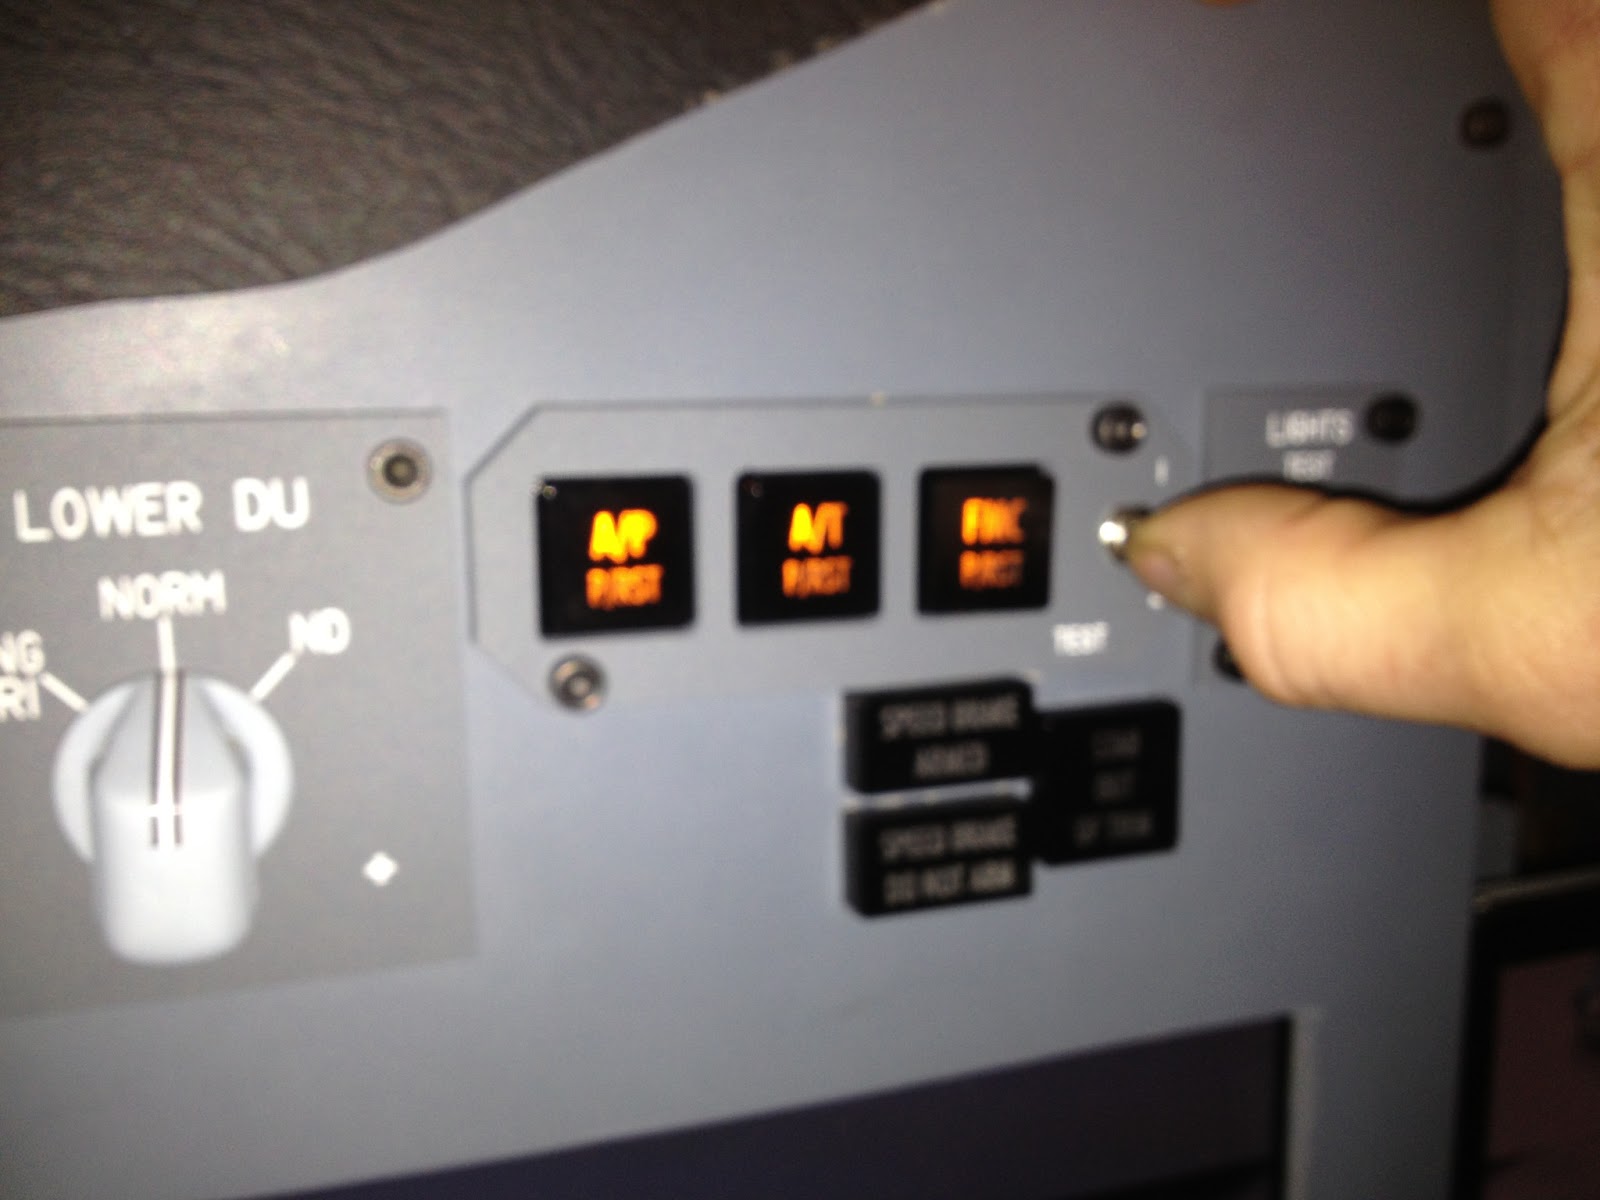
Here you can see them put back together with both leds inside the AP and AT switches test that switch moves well when you press it that it comes back freely.

Then solder them to keep them in placeOn the left is switch with just one LED and on the right is the one I just made with 2 LEDS, center is common and its a NEGATIVE

Below all 3 switches are soldered together and resistors are applied as well to NEGATIVE. I used 330 Ohm for the Single LED and 160 Ohm for the dual so they are brighter minimum you should use 150 Ohm.


Here you can see where resistors are placed on the other side of the PCB board


Here I connected the actual switch part.Black is COMMON and then Yellow is the other part so connections togther.

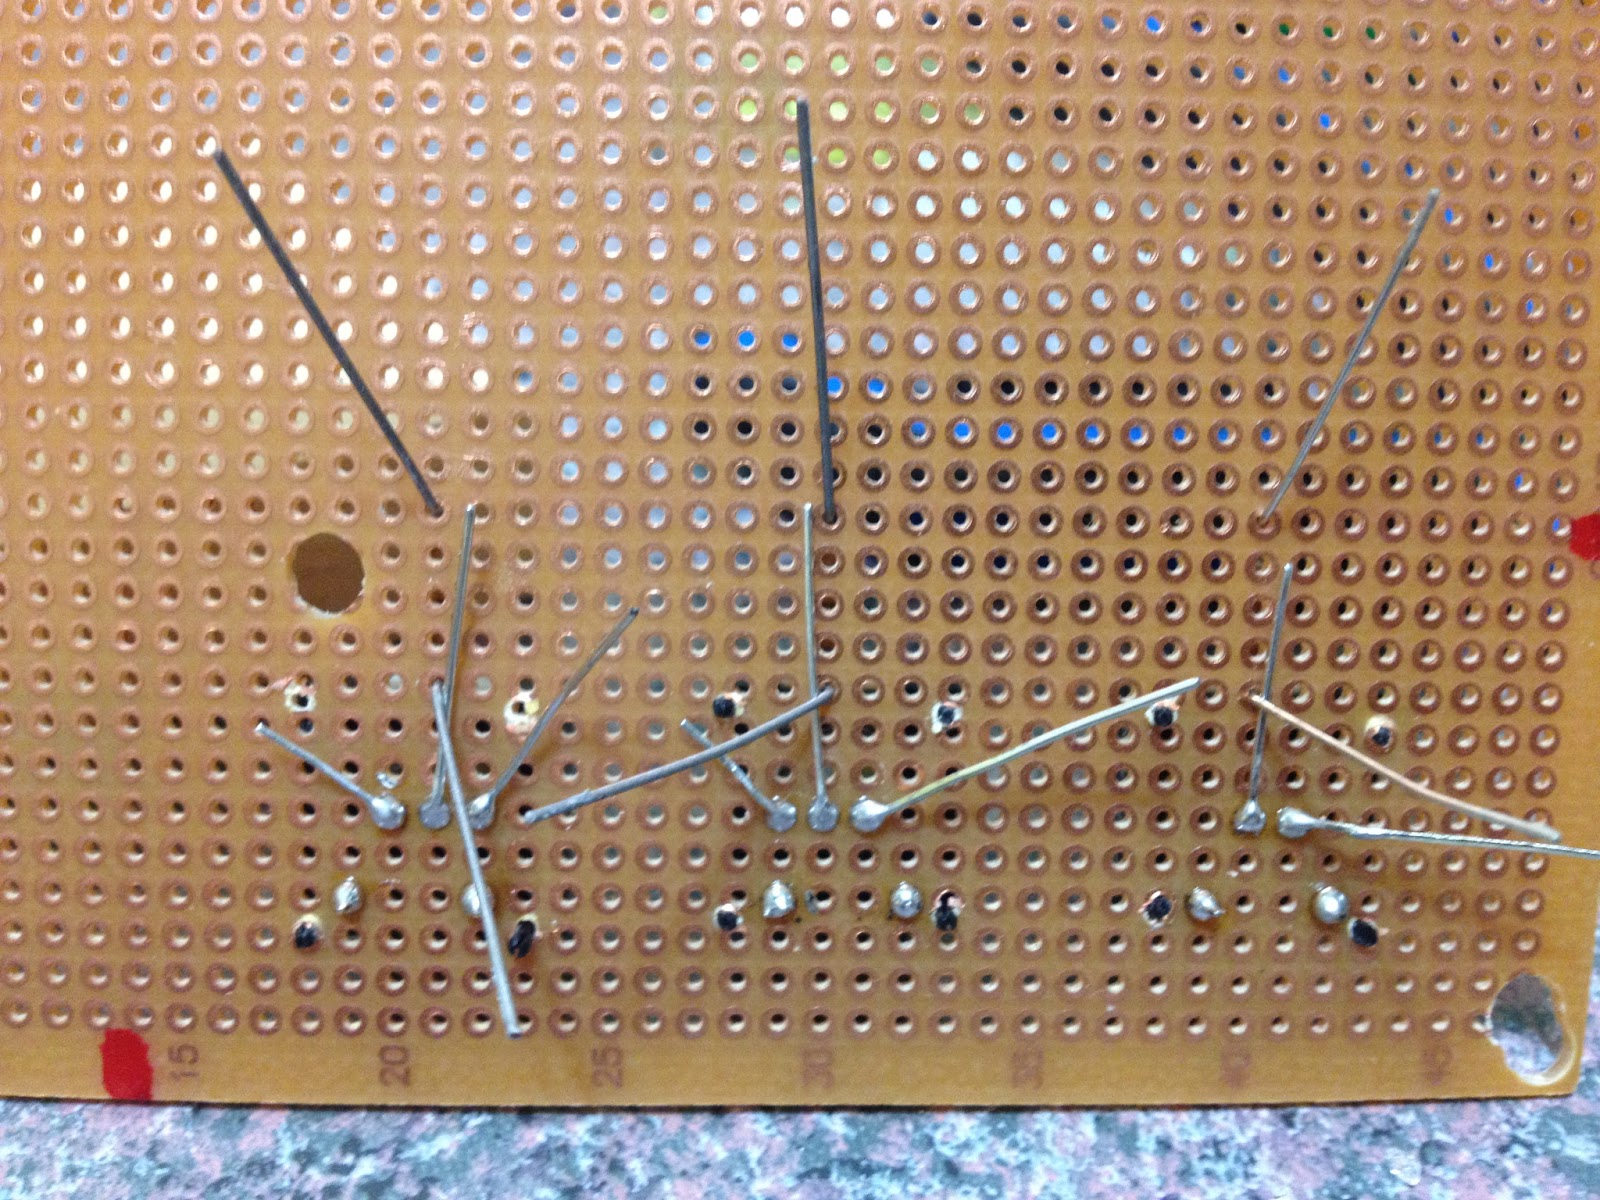
Here are the connection for the LEDs 5 LEDS and black is commonyou could make an actual circuit board but since i am making only 2 of those i just use good old fashion wires.

and here is a finished product.
Then it gets mounted behind the MIP your choice how you mount it.

Total cost of the whole thing was maybe $25-30 tops, it was fun making it too, you would need the front panel from OPENCOCKPITS also of course its not that expensive comes as a set with all Captain Panels.
Unfortunatelly at the moment with PMDG737NGX I have found no way to make the RED/YELLOW acctivate as they should depending on situation in the actual SIM, so i just program RED for the AP and AT and YELLOW for the FMC, FMC is YELLOW only anyways.
I think it is possible with IFly and other suites maybe but i do not own them so I am not sure, but I decided to make dual colors if i decide to change sim that i use.
-
Post Thanks / Like - 1 Thanks, 0 Likes, 0 Dislikes
 Sammy-E thanked for this post
-
02-09-2013, 04:19 PM #12Beginner

- Join Date
- Feb 2007
- Location
- Petoskey, Michigan
- Posts
- 201
Re: Yet another 737 project
Nice!! This is lookin real good man
-
02-18-2013, 08:11 PM #1375+ Posting Member
- Join Date
- Oct 2012
- Location
- London ON, CA
- Posts
- 106
Re: Yet another 737 project
added back light to MCP and finally made a short circle flight without crashing and landing on the runway not beside it

Rwy 23 TO and visual landing same Rwy just to check it out.
-
03-10-2013, 07:55 PM #1475+ Posting Member
- Join Date
- Oct 2012
- Location
- London ON, CA
- Posts
- 106
Re: Yet another 737 project
Less building more playing can`t wait for my overhead to arrive it will make it so much more playable
-
04-20-2013, 11:12 PM #1575+ Posting Member
- Join Date
- Oct 2012
- Location
- London ON, CA
- Posts
- 106
Re: Yet another 737 project
Finally an overhead panel almost half way done.
Wiring is the hardest part so far i have got wired uhm.. i don't recall i think around 70+ switches that is 144 inputs...as many switches have actually 2 or more positions that's why so many actual inputs...
so far used approximately 150 feet of wire, that's not too bad and seems my soldering skills are improving lol...
laid down on the floor after opening the box
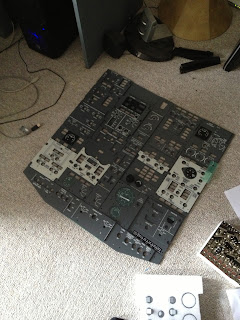
started putting it all together

i dont like that its a rectangle i will try later maybe i can match the shape on the bottom where the landing lights panels are...

first shot at wiring the bottom landing light switches i since decided to use separate wires they are much easier to work with then the ribbon cable mostly because they are 22 Gau vs. 26 or 28 Gau that this ribon cable was very hard to work with and solder and everything else...

Here i decided to use the regular solid-core wire 22Gau and it was much easier and ended up looking not too bad IMO...

Not quite there yet but getting there...

Panel is from prosimparts.. well maybe i make a review of it one day in a short :
for value (what you get for you money) is 9 out of 10
but if you looking for quality and can afford quality you will be disappointed i can only compare it to open cockpits panels that i have and assuming their OVH panels would be the same quality as the few MIP panels I own from OC they are way superior to those from PROSIMPARTS for additional 350-400 EUROS i believe that open-cockpits would be superior in finish compared to PROSIMPARTS, however as mentioned it comes with extra cost . All in all PROSIM does say they are "BUDGET" meant and they do feel "BUDGET" so on their quality compared to OC i can only give them 3 out of 10
  .
.
for quality 3 out of 10
That being said I am not disappointed that I bought it, I started taking real Private Pilot course and with the cost associated with this I am happy I saved myself 350 EUROS , and put that towards real flying lessons... 2 lessons...
 ... well still two 1 hour flight instructions
  ..
..
So if you are on a budget and 350-400 euros is not exactly pocket change for you then I would say go for it once put together framed with care it looks very nice, if however you like perfection you will be sad, so better of invest few extra $$$ and get higher quality.
some SIOC to make it work in my blog help yourself browse around..
AndyCYXU


 Reply With Quote


Looking for fun companions for travels and adventures? Authentic Ladies Premier Сasual Dating
Top-notch Сasual Dating -...