

Results 41 to 50 of 77
Thread: CRJ progress
-
05-06-2012, 05:07 PM #4125+ Posting Member


- Join Date
- Mar 2012
- Location
- uk
- Posts
- 49
Re: CRJ progress
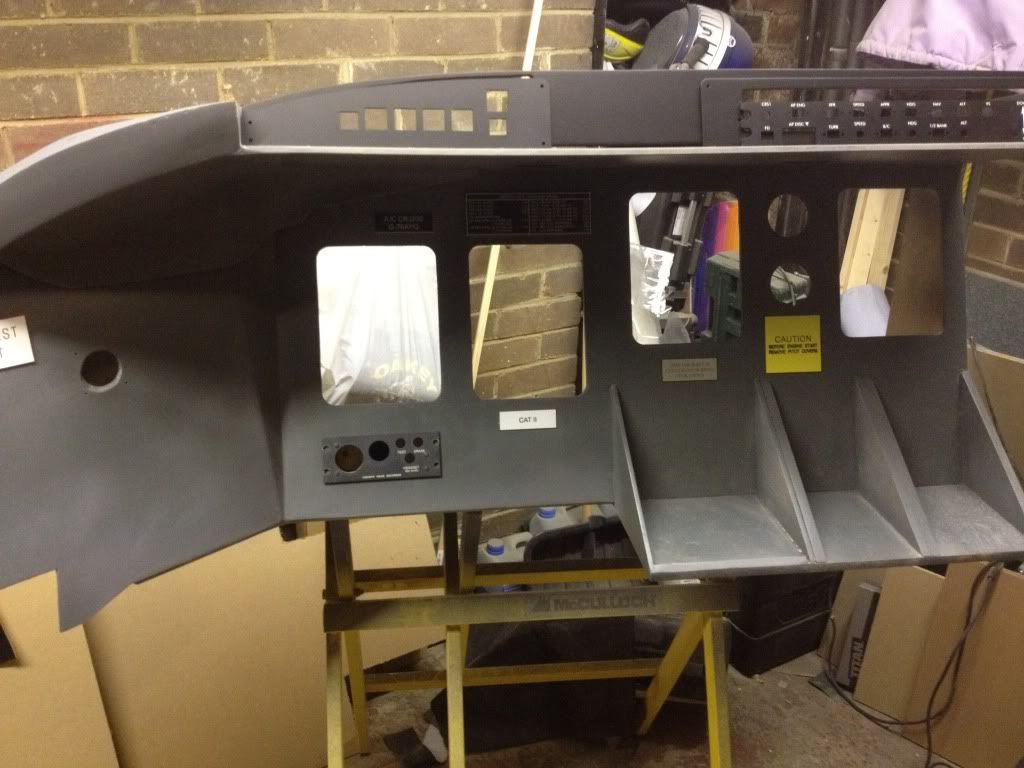
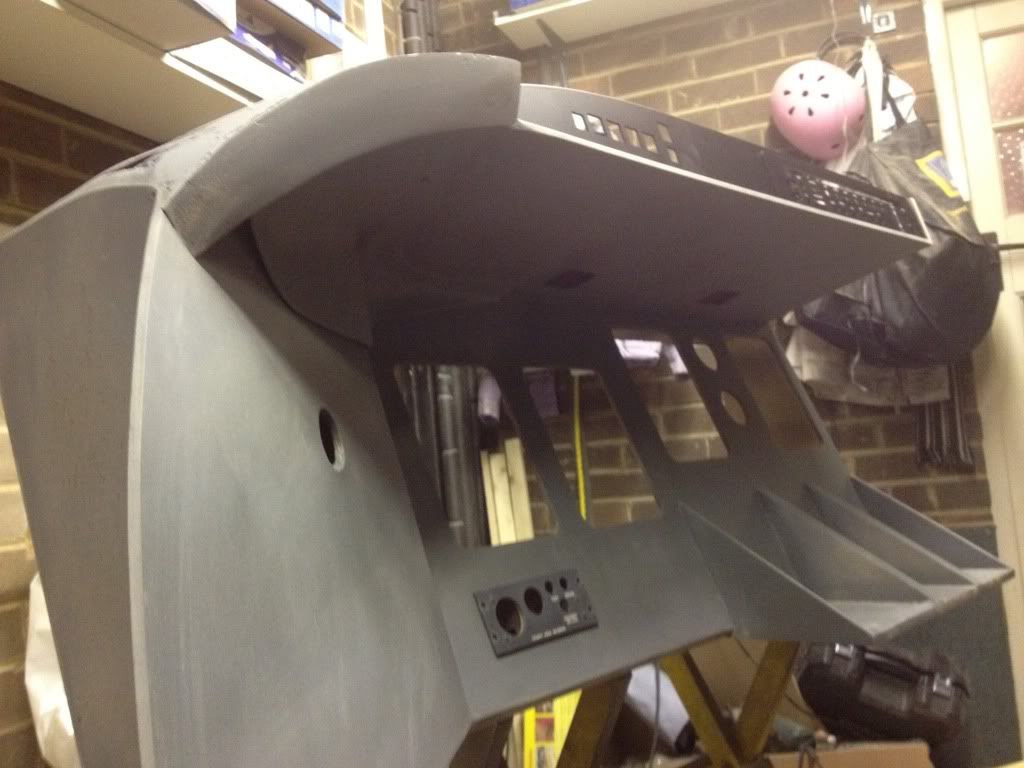
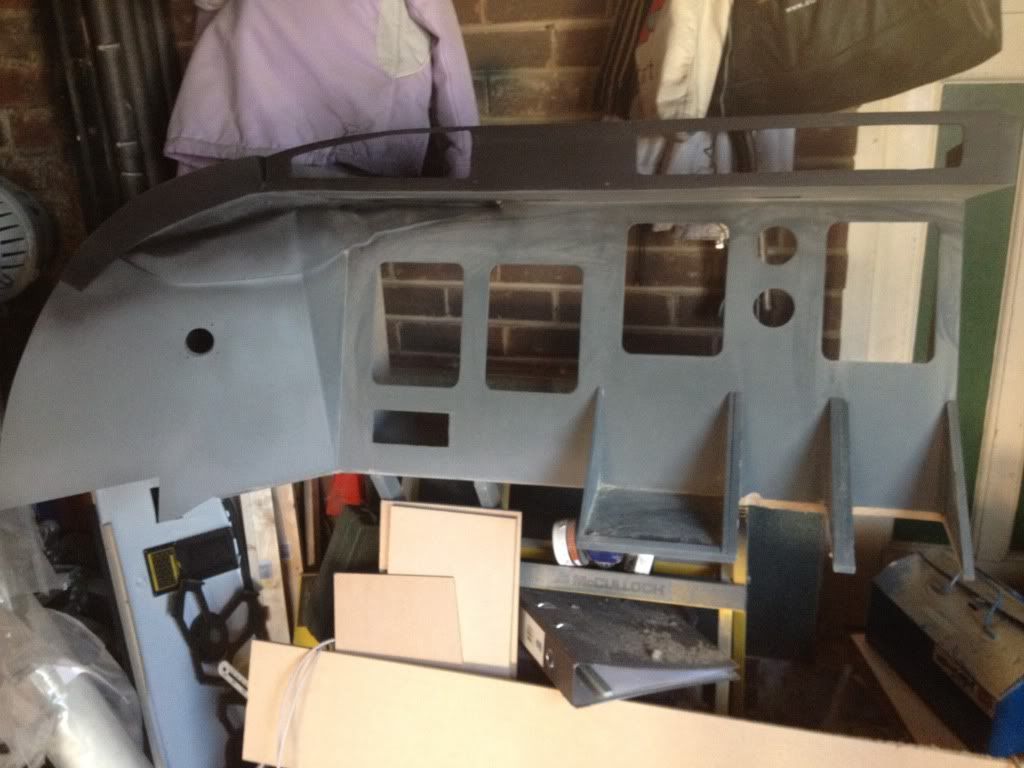
A few placards temp. mounted.for effect and inspiration.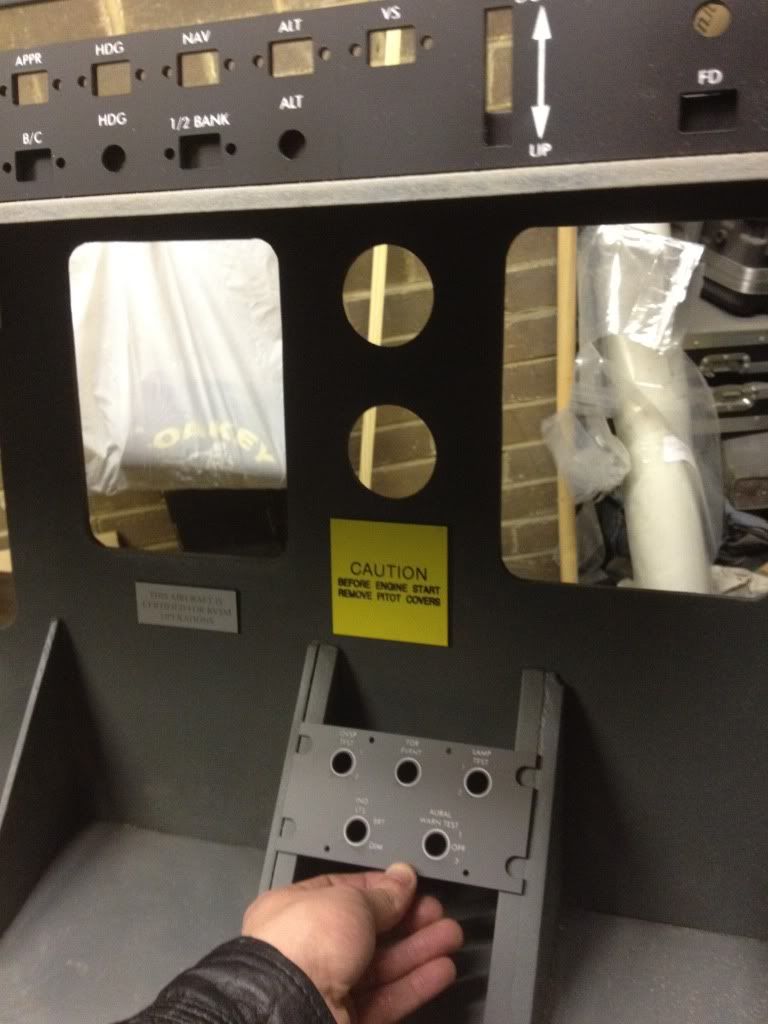
Nothing lines up yet, but it will.
Paint went on well this time. Ignore the mdf dust. All the placards need trimming to size.
-
05-06-2012, 05:11 PM #4225+ Posting Member
- Join Date
- Mar 2012
- Location
- uk
- Posts
- 49
Re: CRJ progress
Do the floodlights have trims around them? Originally Posted by gokhotit

-
05-06-2012, 05:49 PM #43300+ Forum Addict

- Join Date
- Oct 2004
- Location
- Tucson, AZ
- Posts
- 308
Re: CRJ progress
check your mail..
I'm not replicating anything, because I like to fly everything.
http://www.youtube.com/watch?v=HG1LP3xxn0Q
-
05-06-2012, 05:56 PM #4425+ Posting Member
- Join Date
- Mar 2012
- Location
- uk
- Posts
- 49
Re: CRJ progress
Can this thread get any better? Amazing Originally Posted by gokhotit
thank you.
-
05-07-2012, 03:39 PM #4525+ Posting Member
- Join Date
- Mar 2012
- Location
- uk
- Posts
- 49
Re: CRJ progress
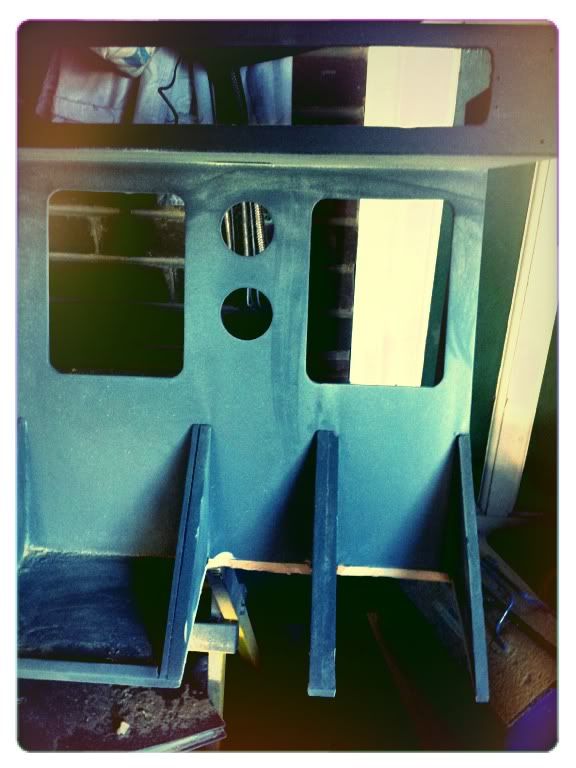
Back to it.
Setting the autopilot frame with square.
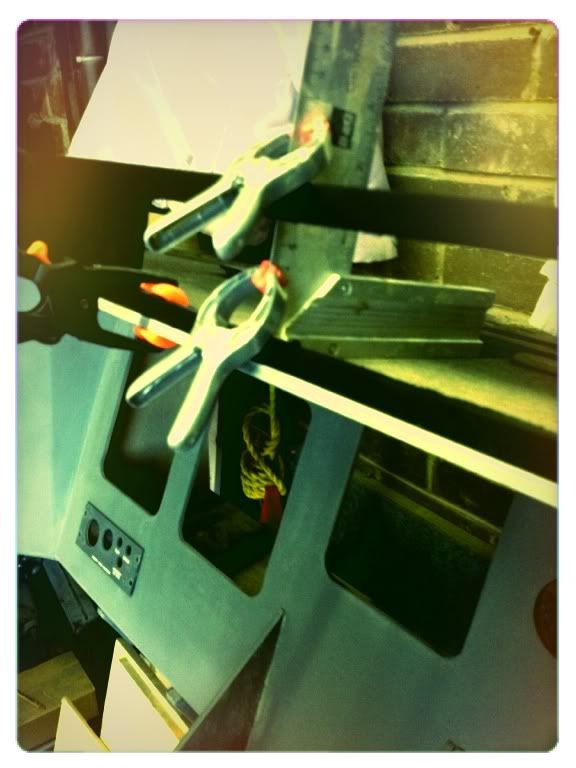
Filling. Hate this bit. And it's seems to take me about 3 coats of high build primer, sanding with 400 and 2500 grit between coats. Feels like treading water!
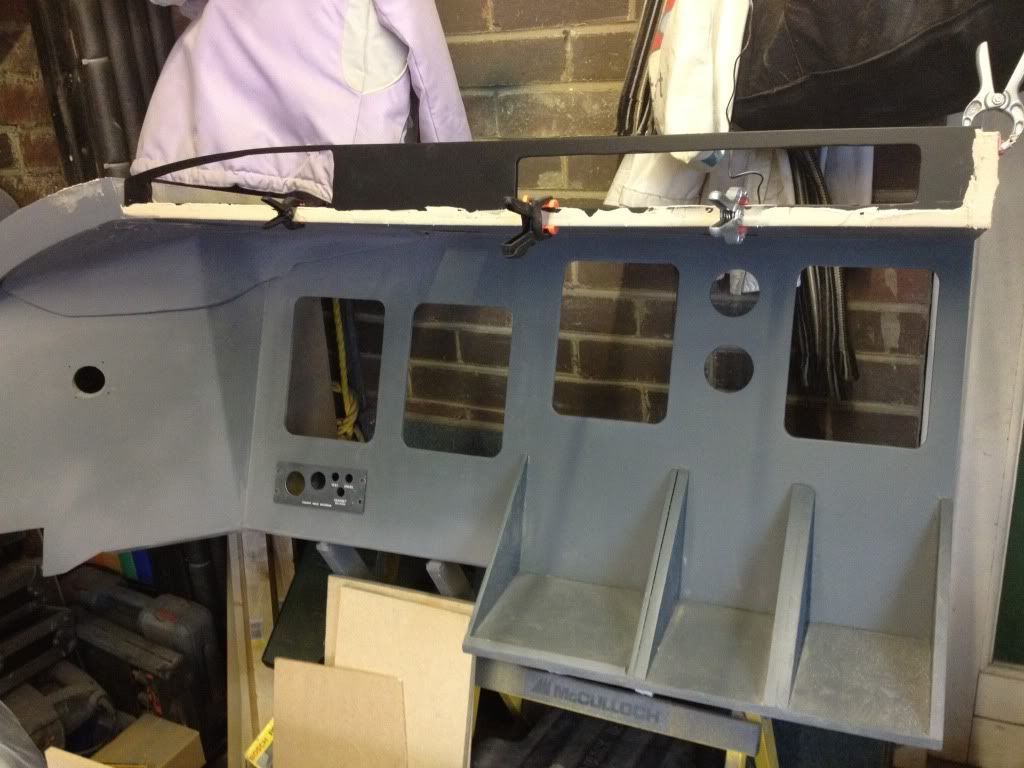
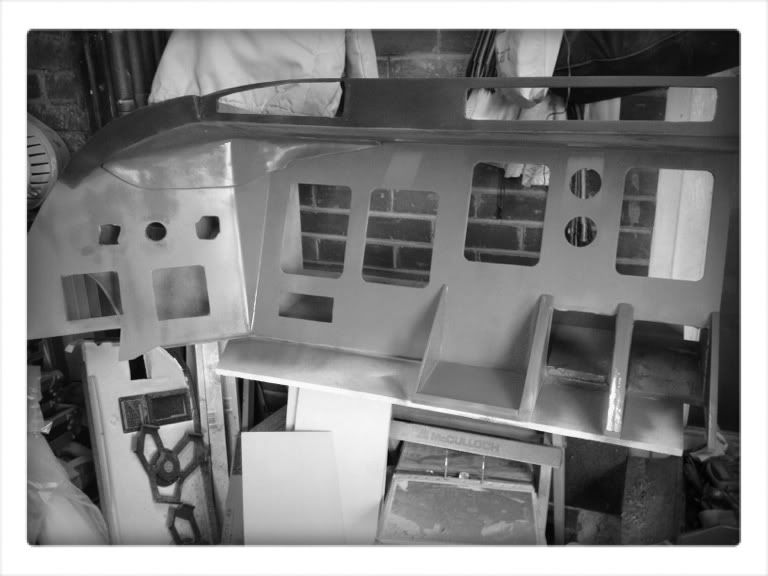
Made a pigs ear of this. Cut the glareshield edge too low and side of cockpit needs some tlc. Ah well. Sorted that tonight.
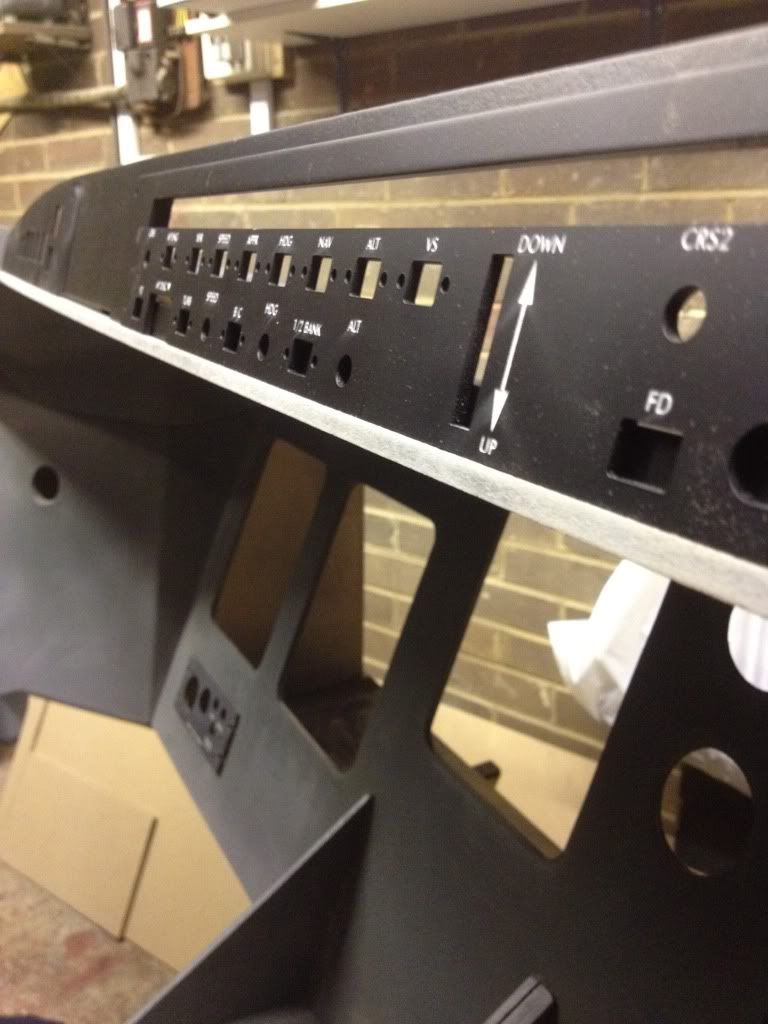
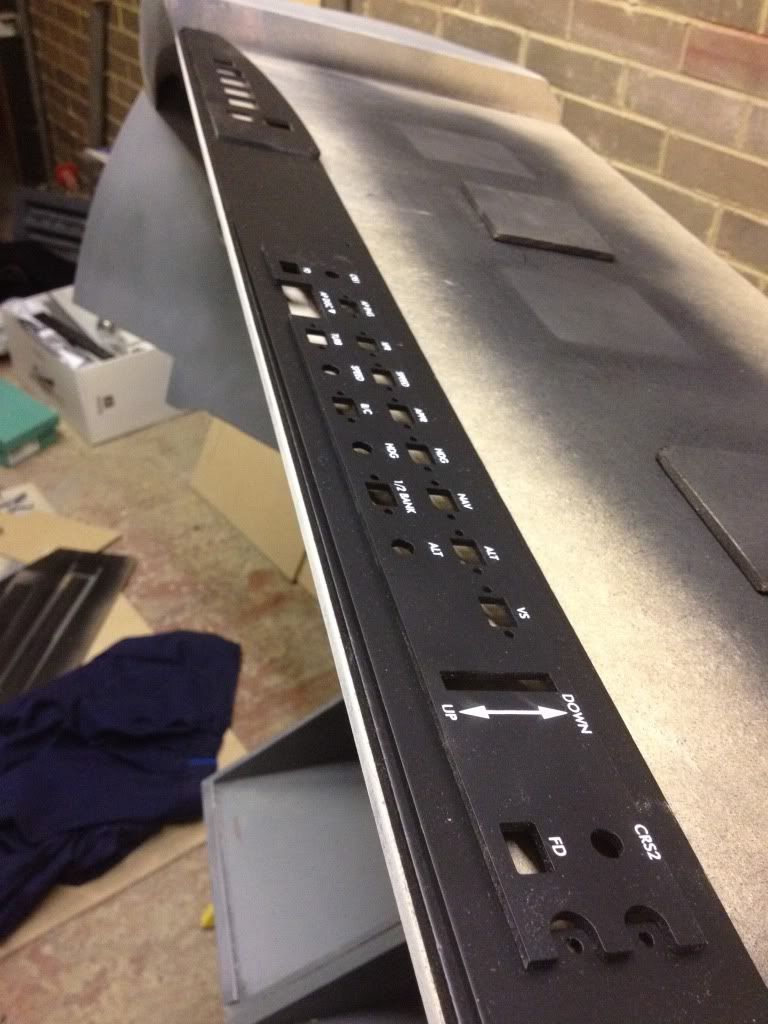
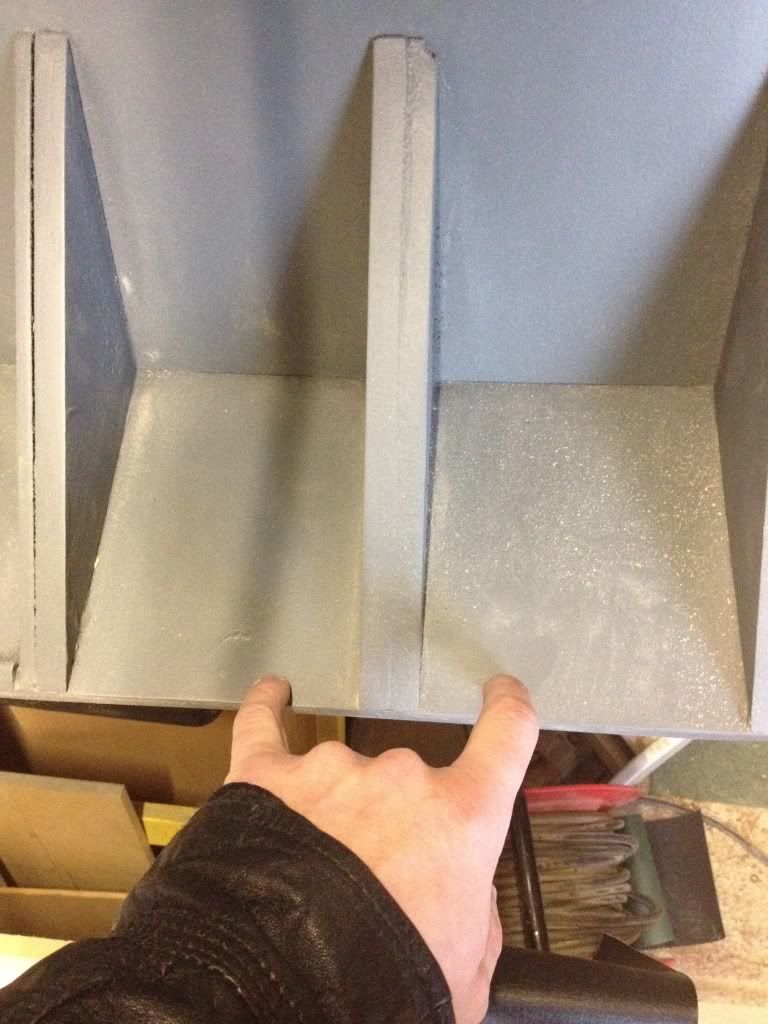
Primed and sanded
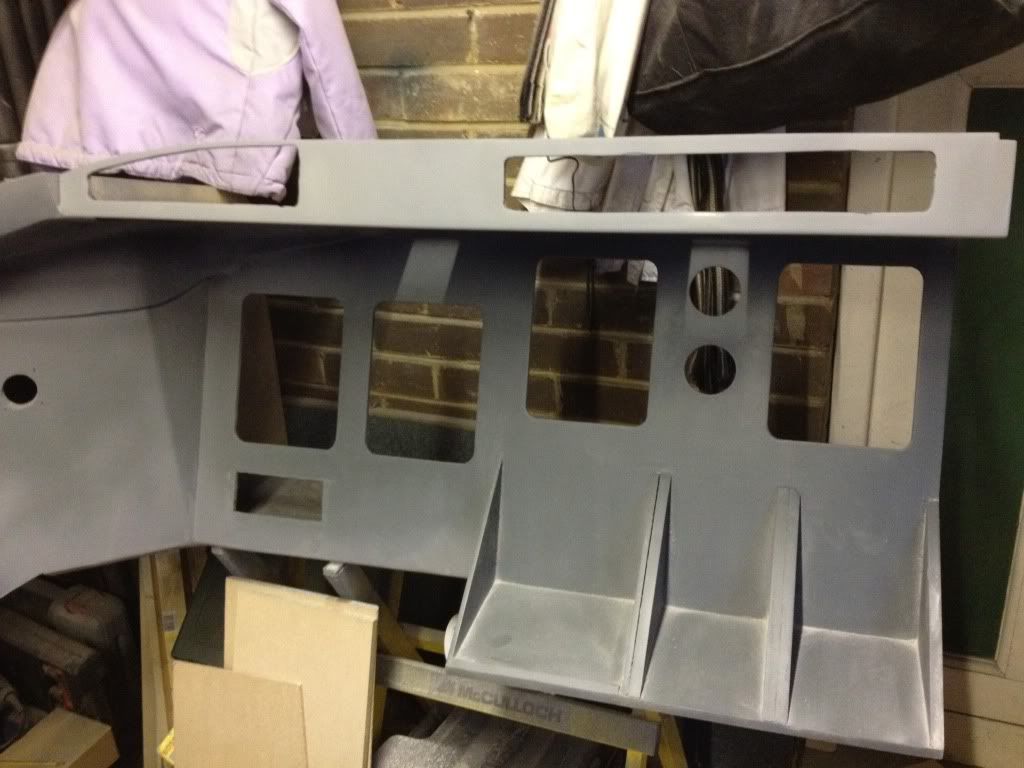
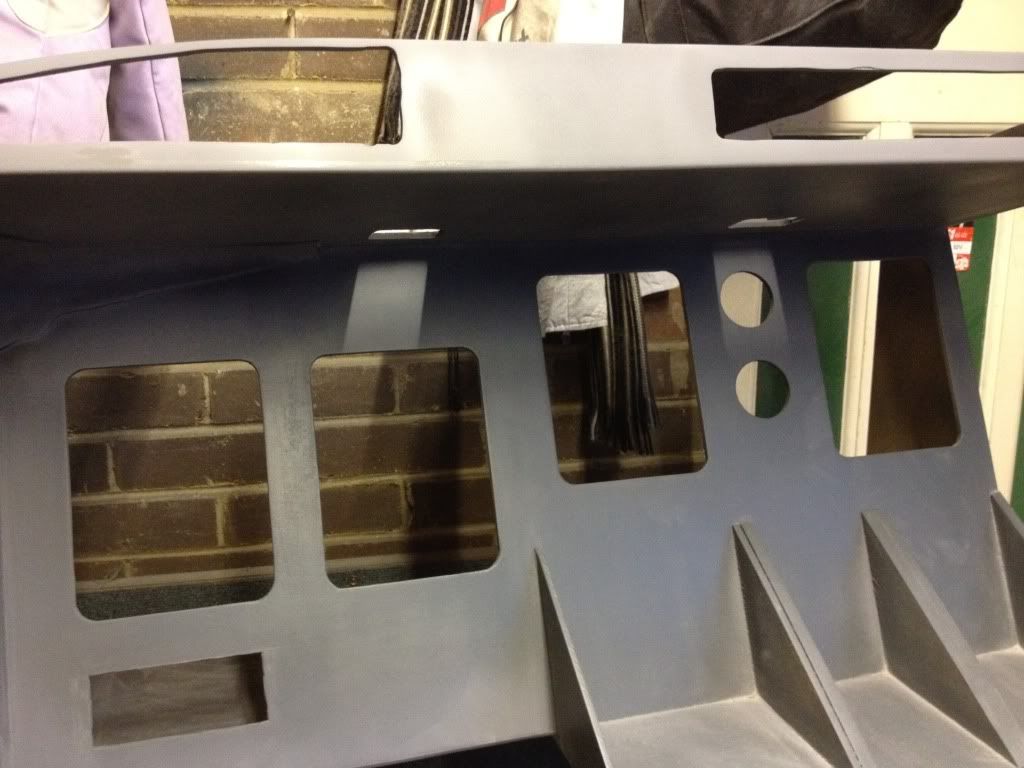
These need to be removed to allow for the depth of the panels. Should be a laugh.
Close up of the 48 led 12v warm yellow floodlights:

Replica screws for mounting to wood.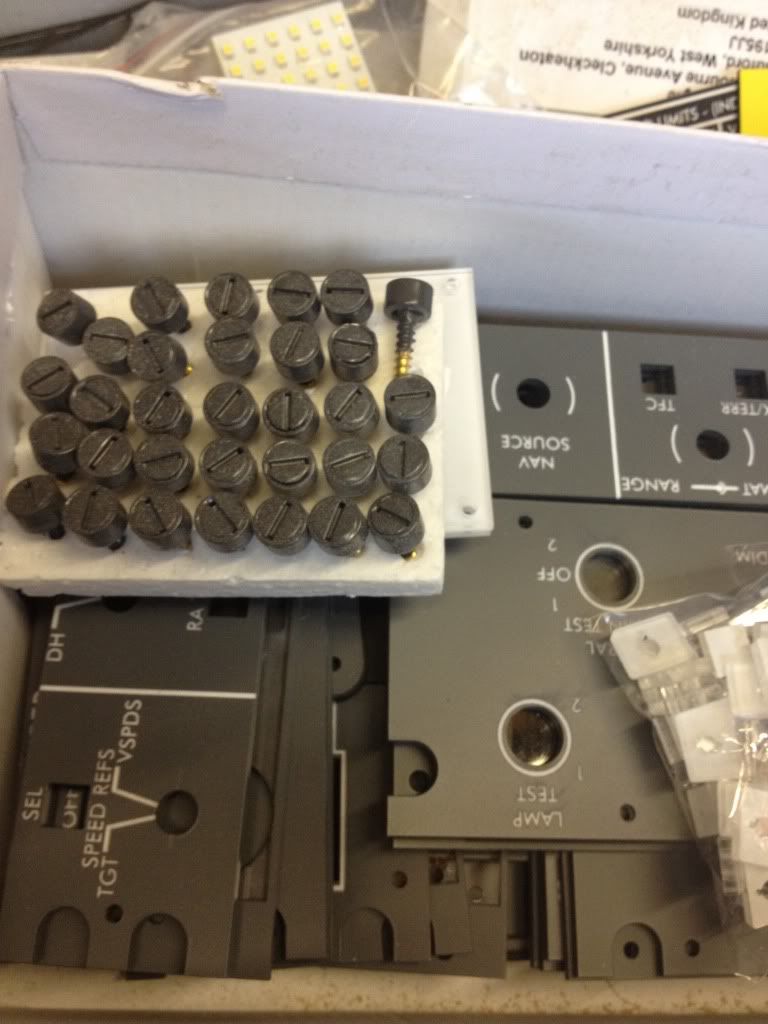
I am getting to the point where I am thinking about how to control all this lot. I have broken this in to parts.
Lighting:
12v variable lighting for backlit panels. Crazed pilot led strips with potentiometer.
12v variable floodlights. 48 led panels on potentiometer.
Lighting other.
PFD/ efis etc. - iPad driven
Autopilot panel: This is my focus for now. Teensy board controlled. I need to start looking at how to code this for any custom data refs in the CRJ. Hence I need to order the components to construct this panel from hispapanels. It consists mainly of push buttons and encoders and LEDs. Now I need to study. I have little idea about this but hey, how hard can it be...some interesting threads on xplane.org seem to be a great starting point. It is certainly looking like choosing X plane 10, whilst slightly controversial, could be the bet choice I made. It looks very straightforward to add custom hardware to the simulation.
Also starting to make enquiries as to custom throttle, flaps and spoilers quadrants. Can't face building this at the moment. I'm more interested in the mip, pedestal and overhead. If I can learn the teensy, I have a chance of making this lot very simply and with value for money.
Anyone who has experience of coding teensy boards would be useful in the near future.
On the subject of study, I got some great CRJ manuals and cockpit materials from eBay, which are helping me to learn the procedures. Can't beat the real deal in this instance.
Whilst custom throttles can be made, I am more concerned about the yoke. I know I want a column Yoke, but the only one I know of, without building one, is the pfc Saab column yoke. Does anyone know of any CRJ specific models?
-
05-10-2012, 05:14 PM #4625+ Posting Member
- Join Date
- Mar 2012
- Location
- uk
- Posts
- 49
Re: CRJ progress
Do you have any info about the throttle quadrant... Photos, accurate dimensions etc. if you ever have time i would appreciate anything on this. Originally Posted by gokhotit
Thankyou in anticipation of any help.
Andy
-
05-14-2012, 03:14 PM #4725+ Posting Member
- Join Date
- Mar 2012
- Location
- uk
- Posts
- 49
Re: CRJ progress
Progress has been slower this week as work got in the way. Still has given me chance to suss out some wiring and compatibility issues software wise.
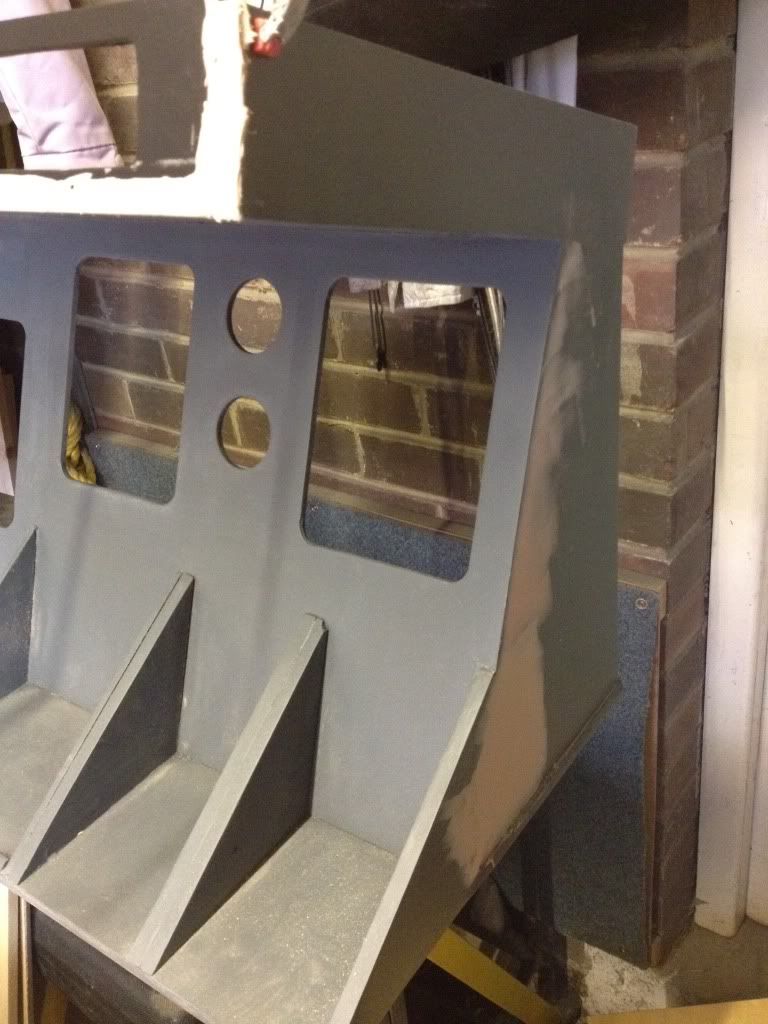
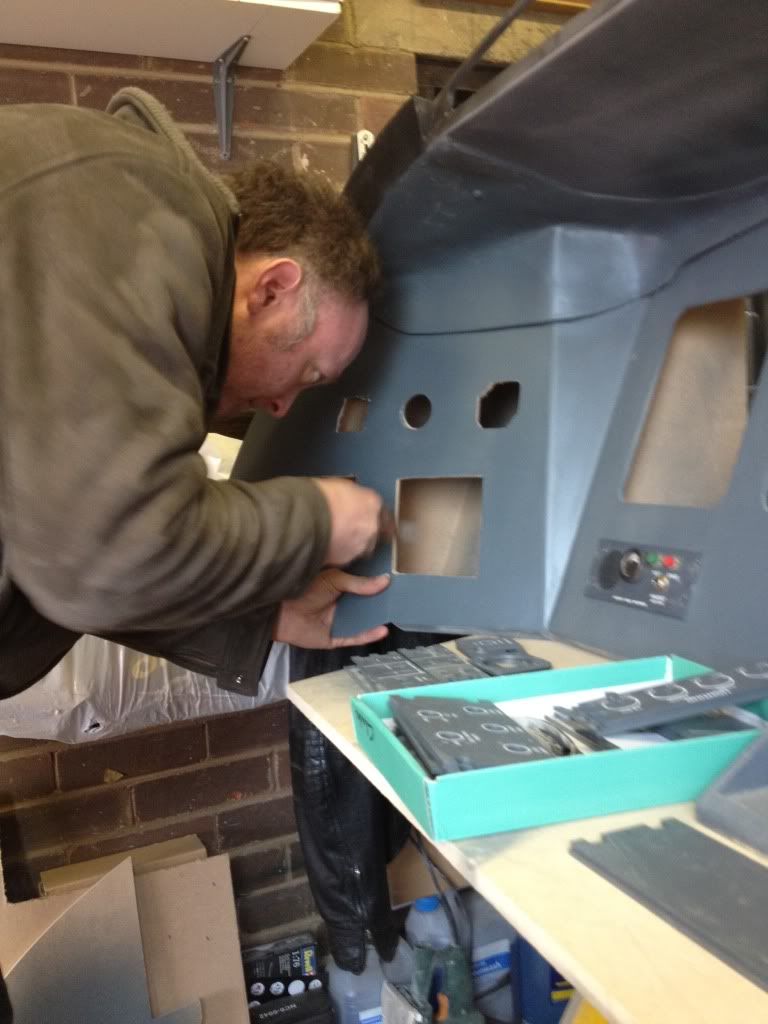
Cut out half of the pedestal top panels to make way for wiring and mounting brackets.
More to take out here, and sanding and spraying to do. This week i'm trying to make good the work so far, so physical work is less. Have designed the metal support which will form the centre of the windscreen and ultimately support the overhead panel. Need to fabricate and weld this at the weekend, to be be glad in mdf. This will then be bolted to the back of the main panel and protrude above the glareshield. Also researching the hispapanels and looking at how to wire these. The lighting panels are simple, others less so.
-
05-14-2012, 07:31 PM #48300+ Forum Addict
- Join Date
- Oct 2004
- Location
- Tucson, AZ
- Posts
- 308
Re: CRJ progress
check your mail
I'm not replicating anything, because I like to fly everything.
http://www.youtube.com/watch?v=HG1LP3xxn0Q
-
05-20-2012, 07:00 PM #4925+ Posting Member
- Join Date
- Mar 2012
- Location
- uk
- Posts
- 49
Re: CRJ progress
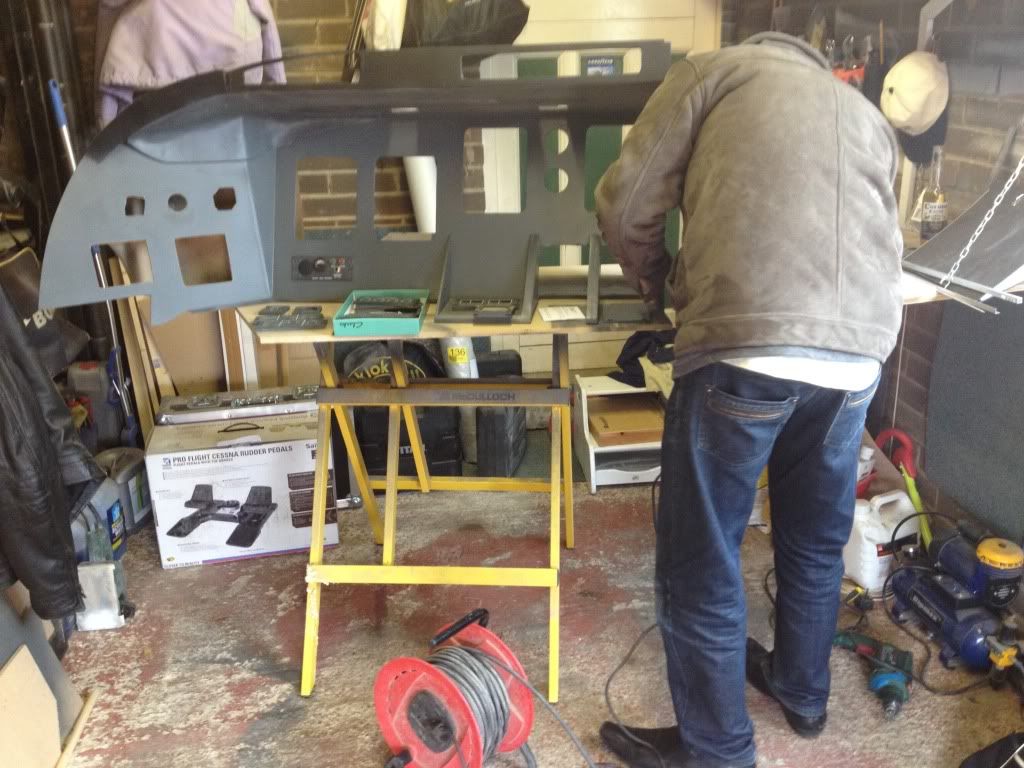
Cutting out panels and filing
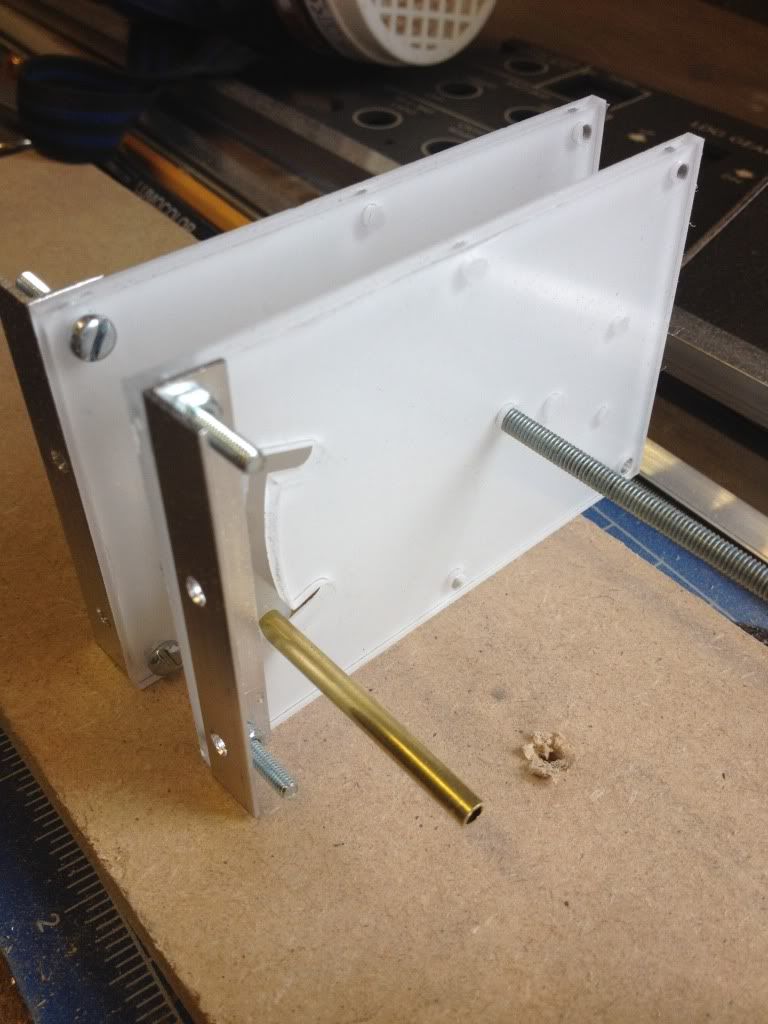
Work on the undercarriage lever has started. Initial cutting and trial fitting.
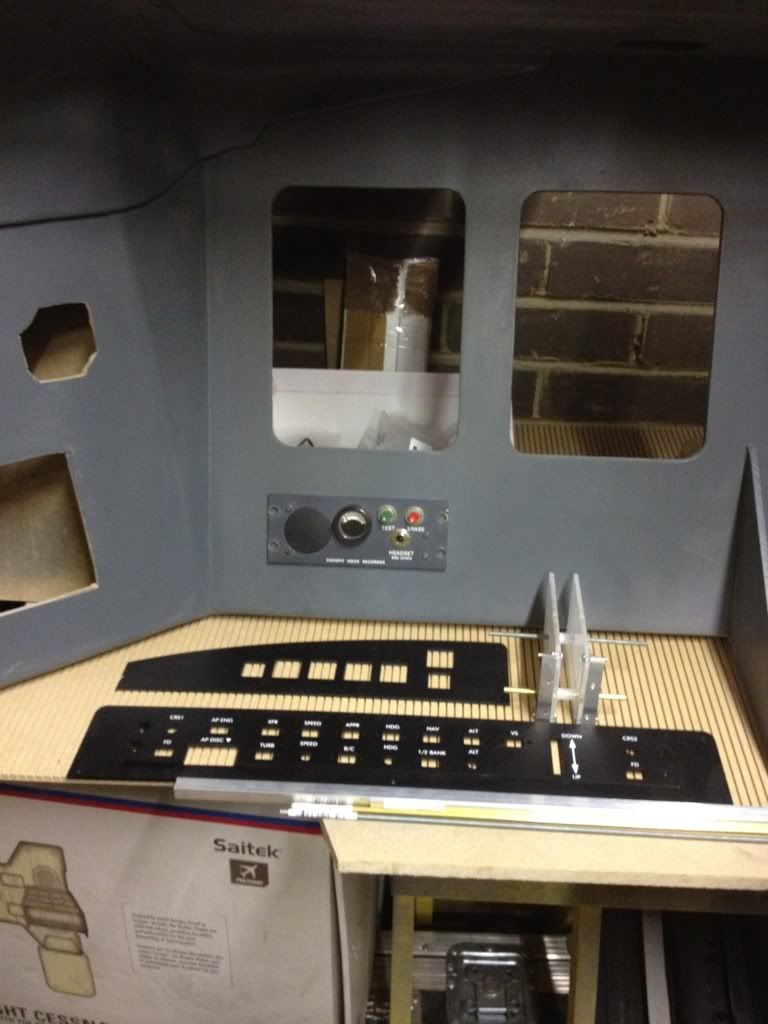
Cockpit voice recorder is now wired and powered. VU meter goes to green band when test button is pressed. Just need to add a resistor to ensure exact deflection of the needle.
-
05-23-2012, 03:56 PM #5025+ Posting Member
- Join Date
- Mar 2012
- Location
- uk
- Posts
- 49
Re: CRJ progress
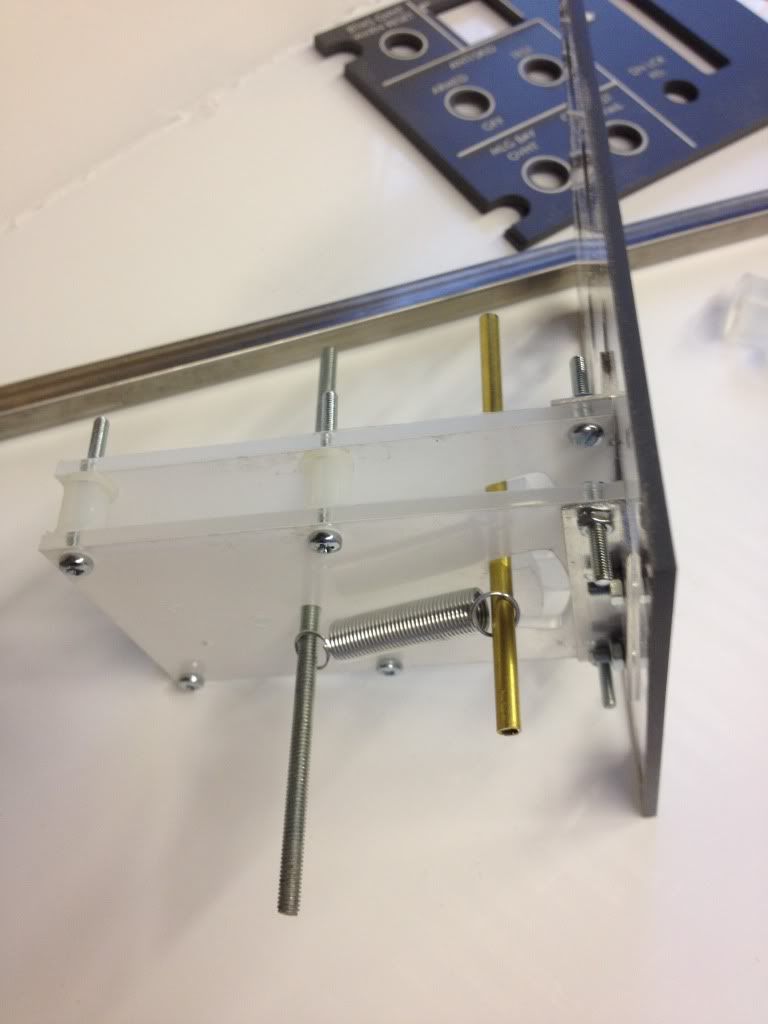
initial assembly before loctite and cutting of threads and 10mm stainless steel lever. glb knob ready to be fit.

 Reply With Quote


Take a step towards your dream - participate and win!
Run-Time Check # 0 - The value of...