

Results 31 to 40 of 41
-
03-30-2012, 02:07 PM #3125+ Posting Member

- Join Date
- Oct 2011
- Location
- Belgium
- Posts
- 33
Re: Started on a Boeing 737NG cockpit
Because of my work I had no time yet
 Tomorrow should work, I will do it asap!
  My Boeing 737NG project: http://homeflightsim.wordpress.com/
-
03-31-2012, 03:19 PM #32150+ Forum Groupie

- Join Date
- Dec 2011
- Location
- Canada
- Posts
- 175
Re: Started on a Boeing 737NG cockpit
Very nice job. Looks great. Originally Posted by jumbo0

-
03-31-2012, 05:06 PM #3325+ Posting Member
- Join Date
- Oct 2011
- Location
- Belgium
- Posts
- 33
Re: Started on a Boeing 737NG cockpit
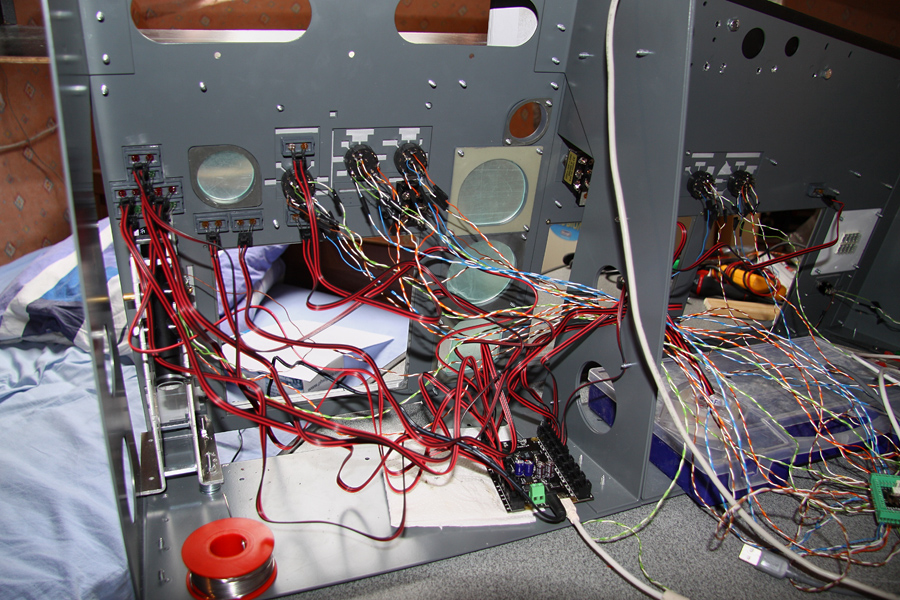
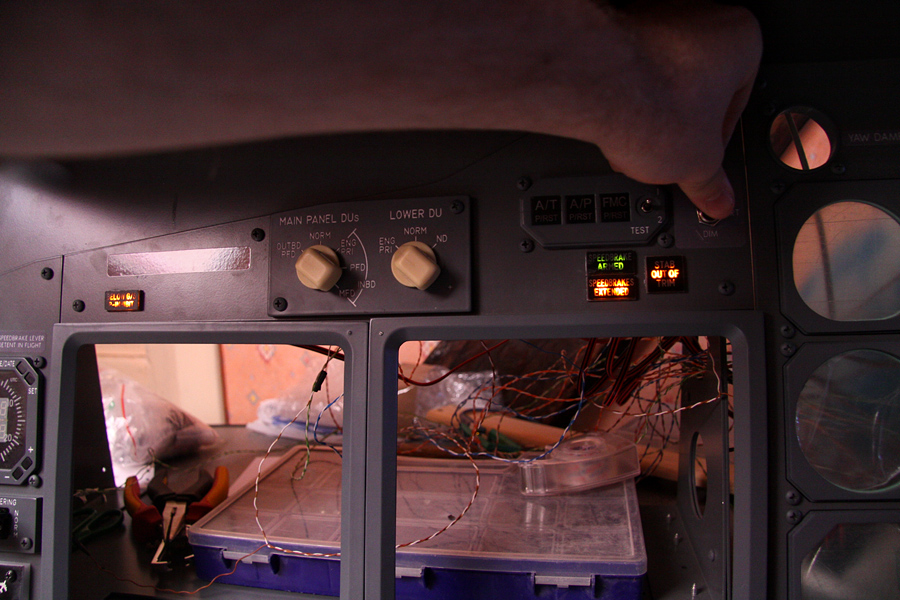
Here the photo of a piece of the backside of my MIP!
Cockpit 030.jpgMy Boeing 737NG project: http://homeflightsim.wordpress.com/
-
04-13-2012, 02:51 PM #34New Member
- Join Date
- Jan 2012
- Location
- Sweden
- Posts
- 3
Re: Started on a Boeing 737NG cockpit
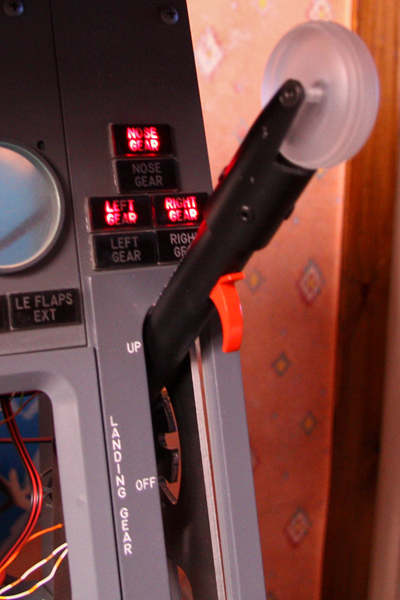
You have put the Annunciator holders on the wrong side!
-
04-15-2012, 06:49 AM #3525+ Posting Member
- Join Date
- Oct 2011
- Location
- Belgium
- Posts
- 33
Re: Started on a Boeing 737NG cockpit
Well, I was not sure how to do it
But just wired the LED's and it looks pretty good after all I think.. For the overhead I'll have a good look at it to mount them in the right way!My Boeing 737NG project: http://homeflightsim.wordpress.com/
-
04-20-2012, 06:39 PM #3625+ Posting Member
- Join Date
- Oct 2011
- Location
- Belgium
- Posts
- 33
Re: Started on a Boeing 737NG cockpit
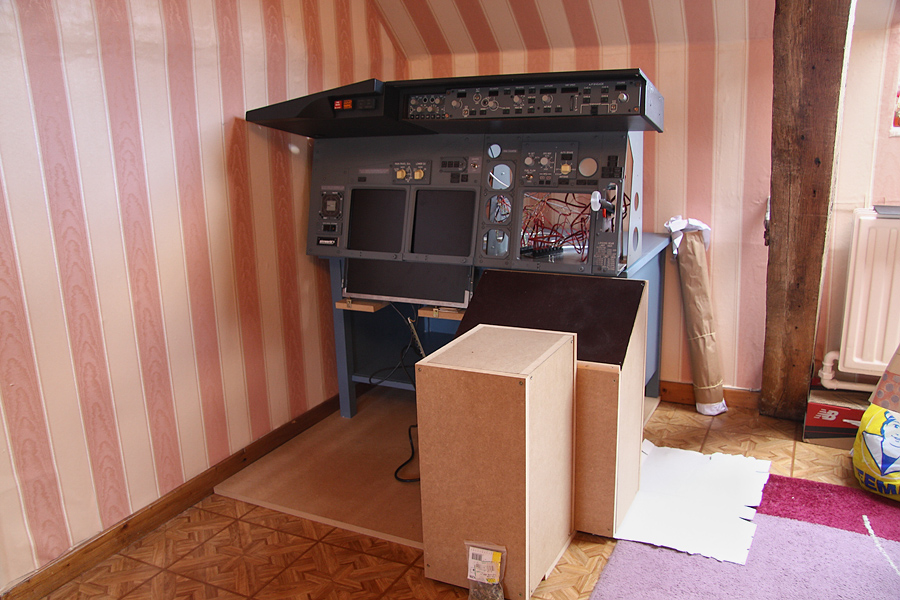
Some pictures of the current progress:
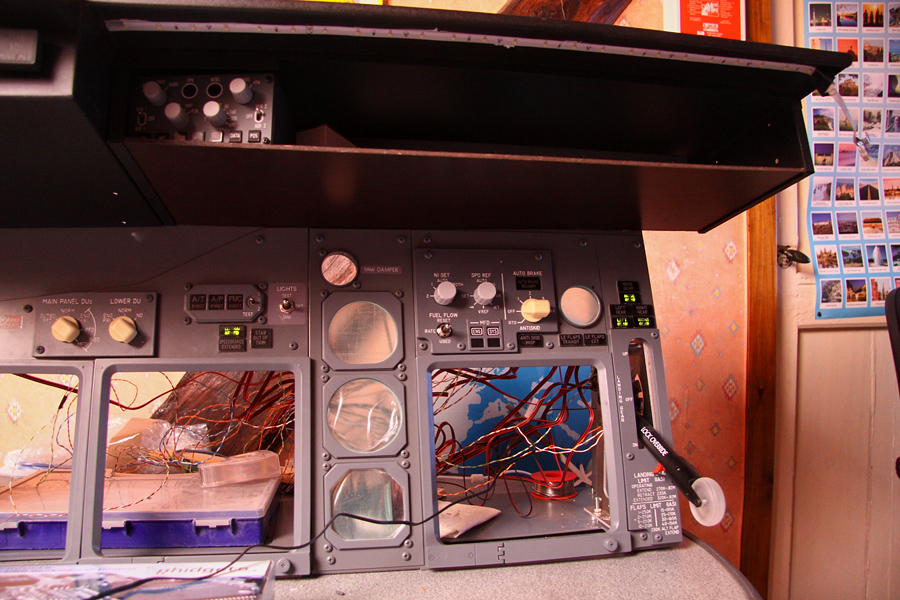
 My Boeing 737NG project: http://homeflightsim.wordpress.com/
-
04-21-2012, 02:06 PM #3725+ Posting Member
- Join Date
- Nov 2011
- Location
- Near Rotterdam, The Netherlands
- Posts
- 34
Re: Started on a Boeing 737NG cockpit
What exactly is wrong with the annunciators in this picture? Originally Posted by Sudden81
I will receive the simworld mip and annunciator set also in some weeks so i would like to understand what to do different as i agree with Jumbo0 this already looks very impressive. can you point out more what you mean exactly?
-
04-21-2012, 04:42 PM #38New Member
- Join Date
- Jan 2012
- Location
- Sweden
- Posts
- 3
Re: Started on a Boeing 737NG cockpit
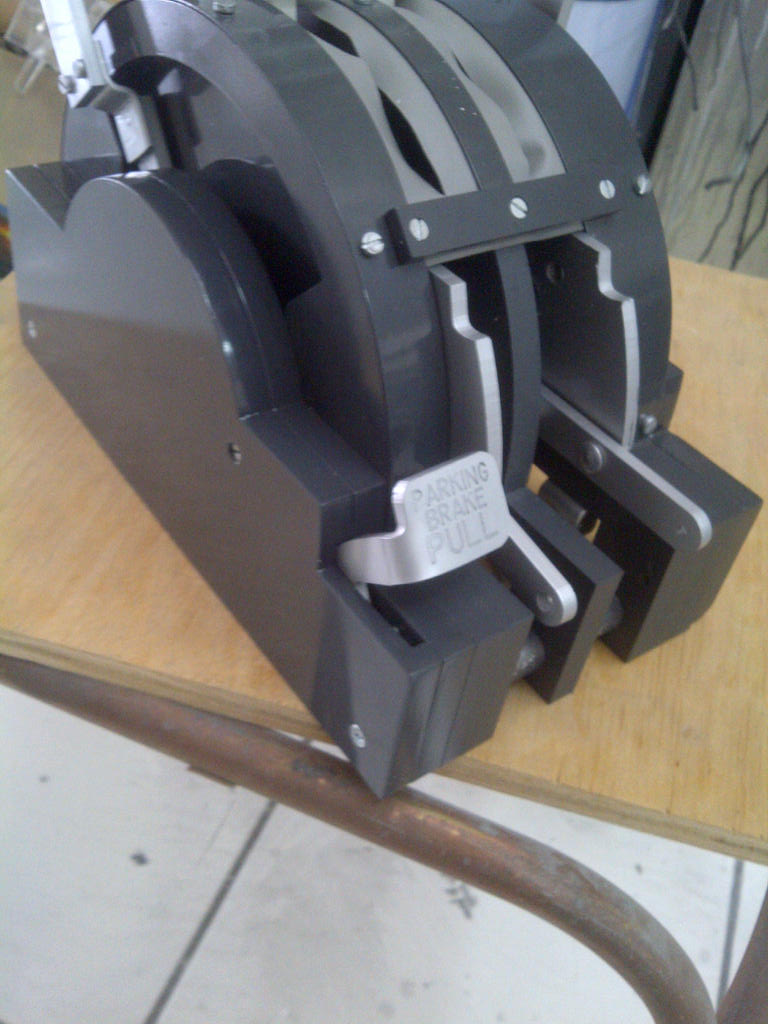
It should look like this: Originally Posted by jumbo0
hyd1.jpg
In real life, you can push in all annunciators to see if the bulbs work!
Therefore, it is the part you put on the inside to sit on the outside and the other small part on the inside!
-
04-26-2012, 01:33 PM #3925+ Posting Member
- Join Date
- Nov 2011
- Location
- Near Rotterdam, The Netherlands
- Posts
- 34
Re: Started on a Boeing 737NG cockpit
Thanks Originally Posted by Sudden81
i think this will be very helpfull when the mip with annunciators arrive. I will post pictures once complete in my own thread
-
04-26-2012, 03:17 PM #4025+ Posting Member
- Join Date
- Oct 2011
- Location
- Belgium
- Posts
- 33
Re: Started on a Boeing 737NG cockpit
Hmm I see... Well maybe one day I'll order new annunciators and remount them in the good way. Thanks for sharing, Sudden81!
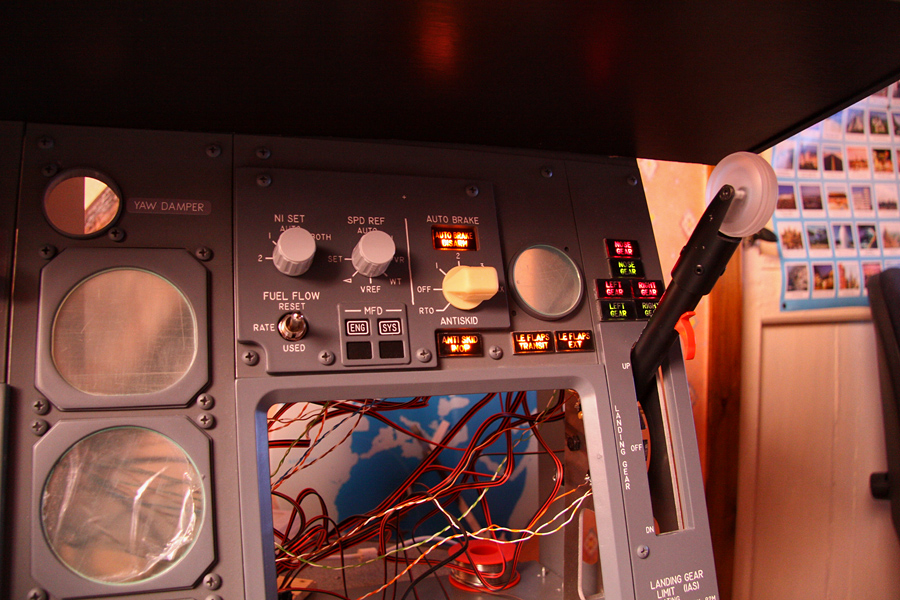
The past days I worked a little on my cockpit, mounted on a frame made my own CDU and throttle bay out of wood, painted everything, mounted my LCD,... It start to look a little like a cockpit
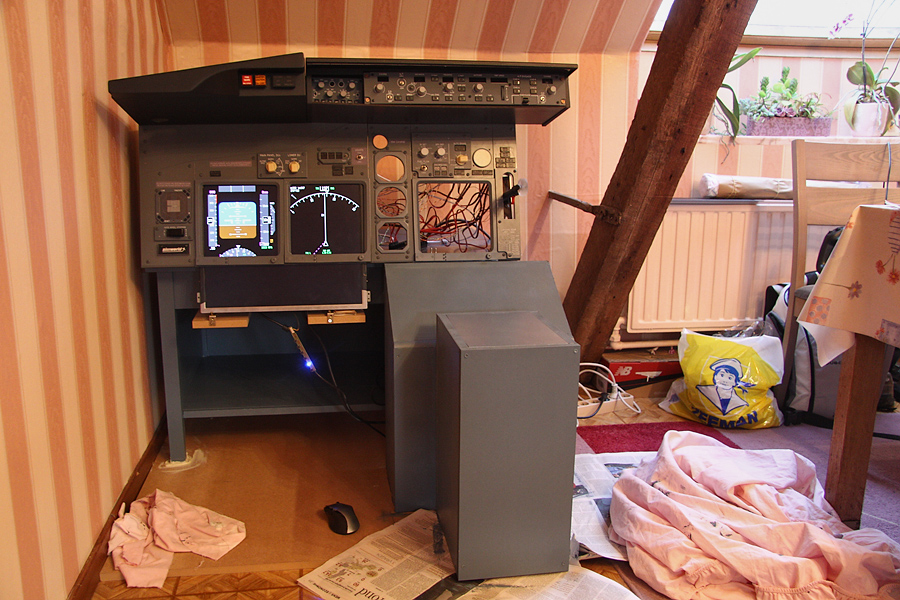

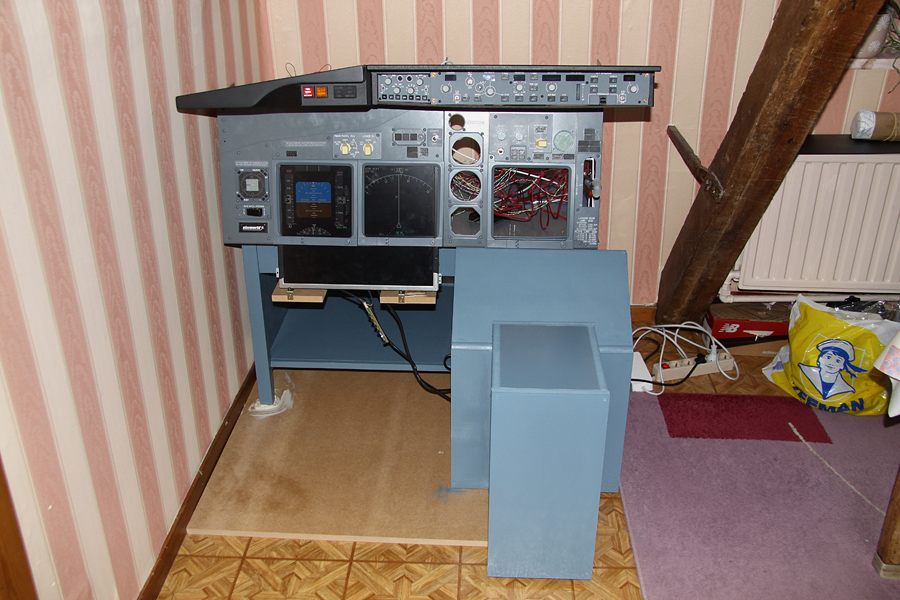 My Boeing 737NG project: http://homeflightsim.wordpress.com/

 Reply With Quote


Break free from traditional dating norms and embrace the best in casual connections. No strings...
Progamming help with FSBus dll